Reclaiming Garage Floor Space with Ceiling-Mounted Overhead Storage
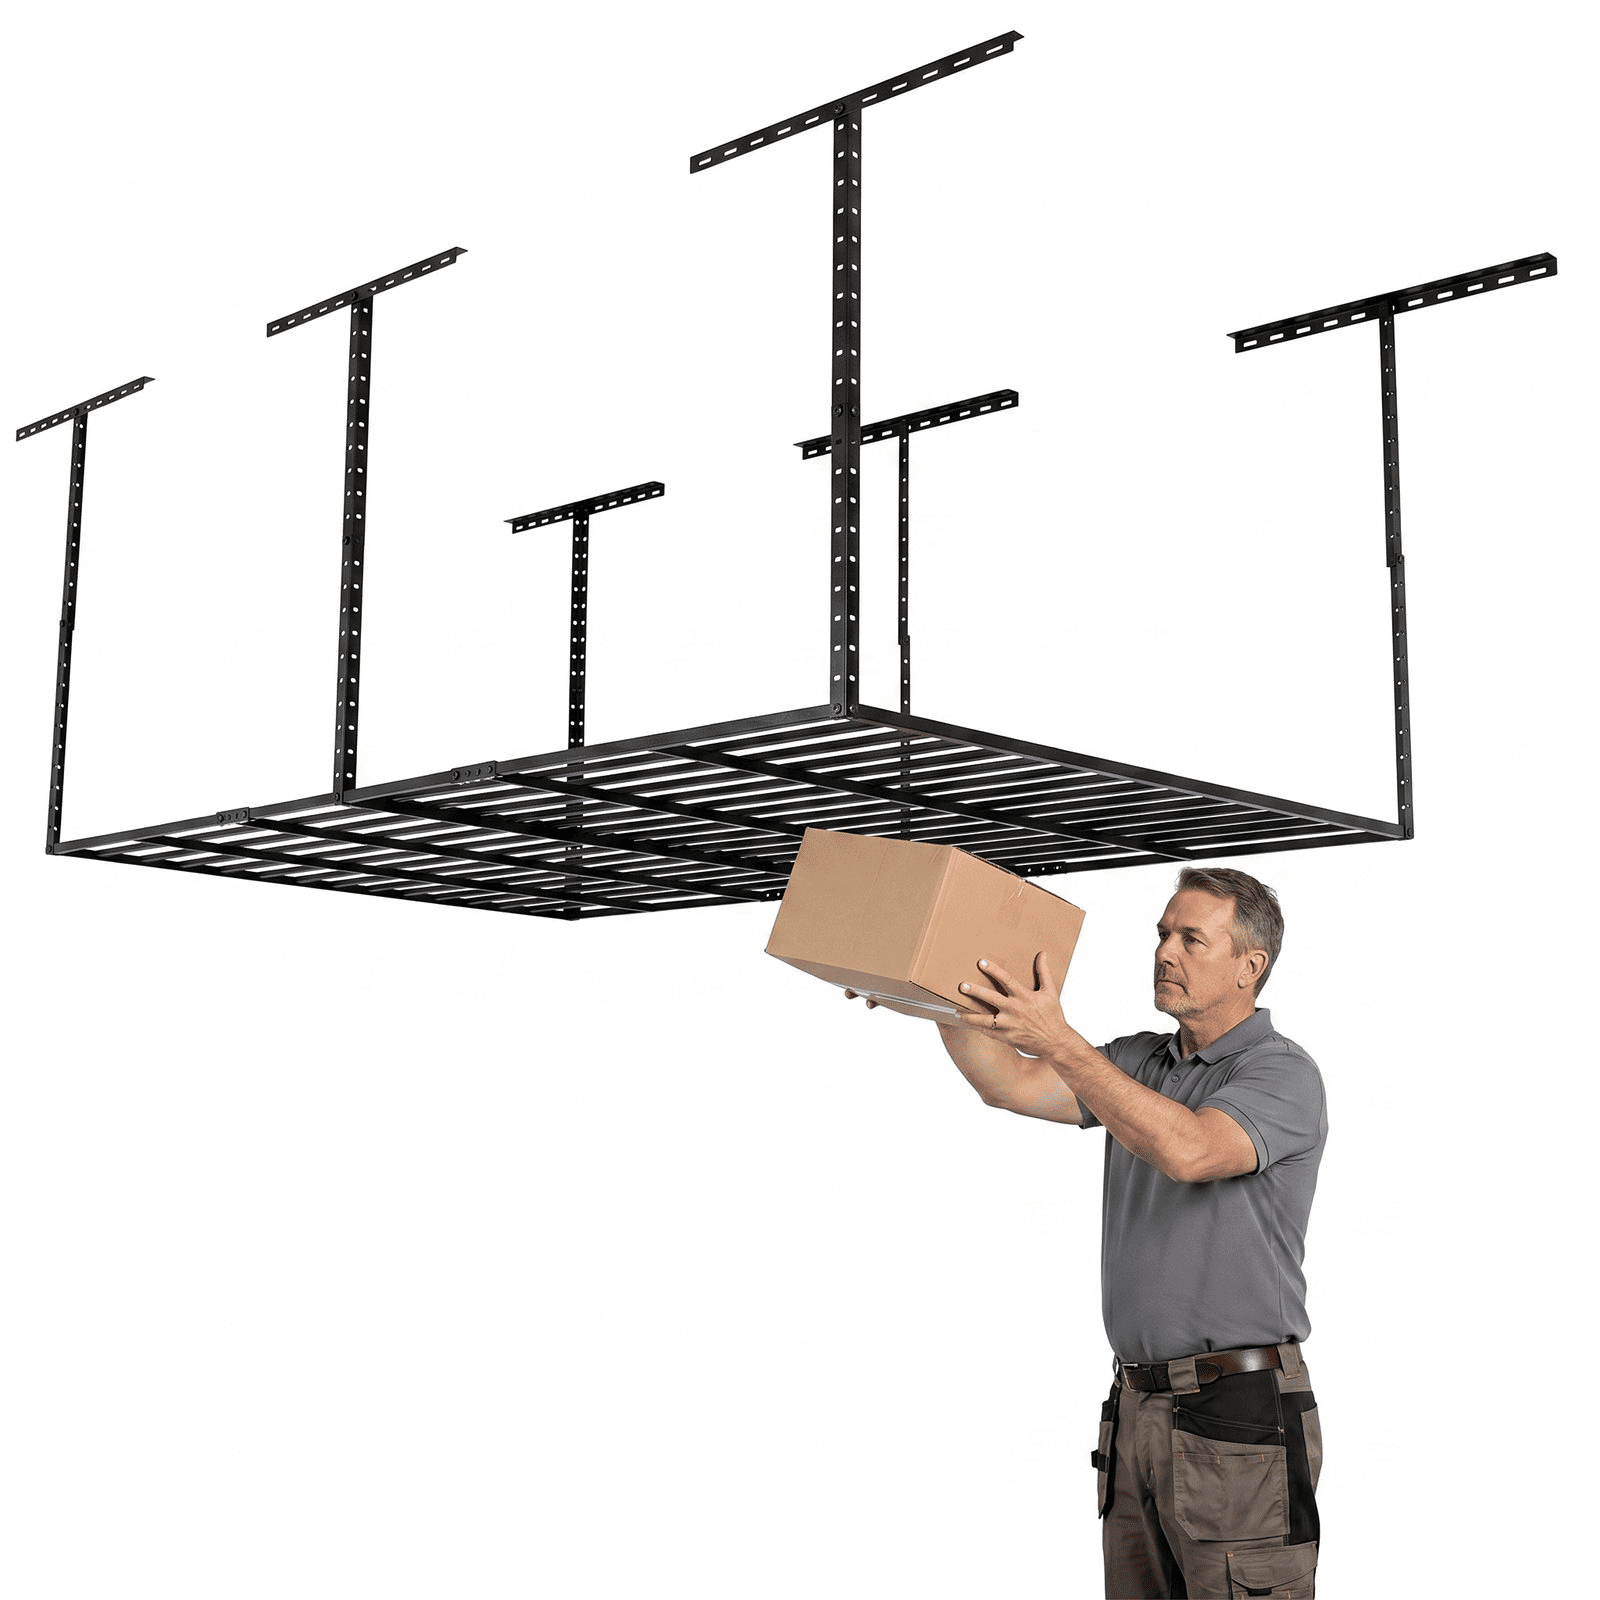
Garage clutter often claims floor space where you actually need to move around or park. Mounting storage overhead is an effective solution, but choosing the right rack means understanding its frame design, weight capacity, and how it fits your specific garage layout. Before committing, here's what matters most when evaluating an overhead system.
Contents
Steel Frame Construction and Load Capacity
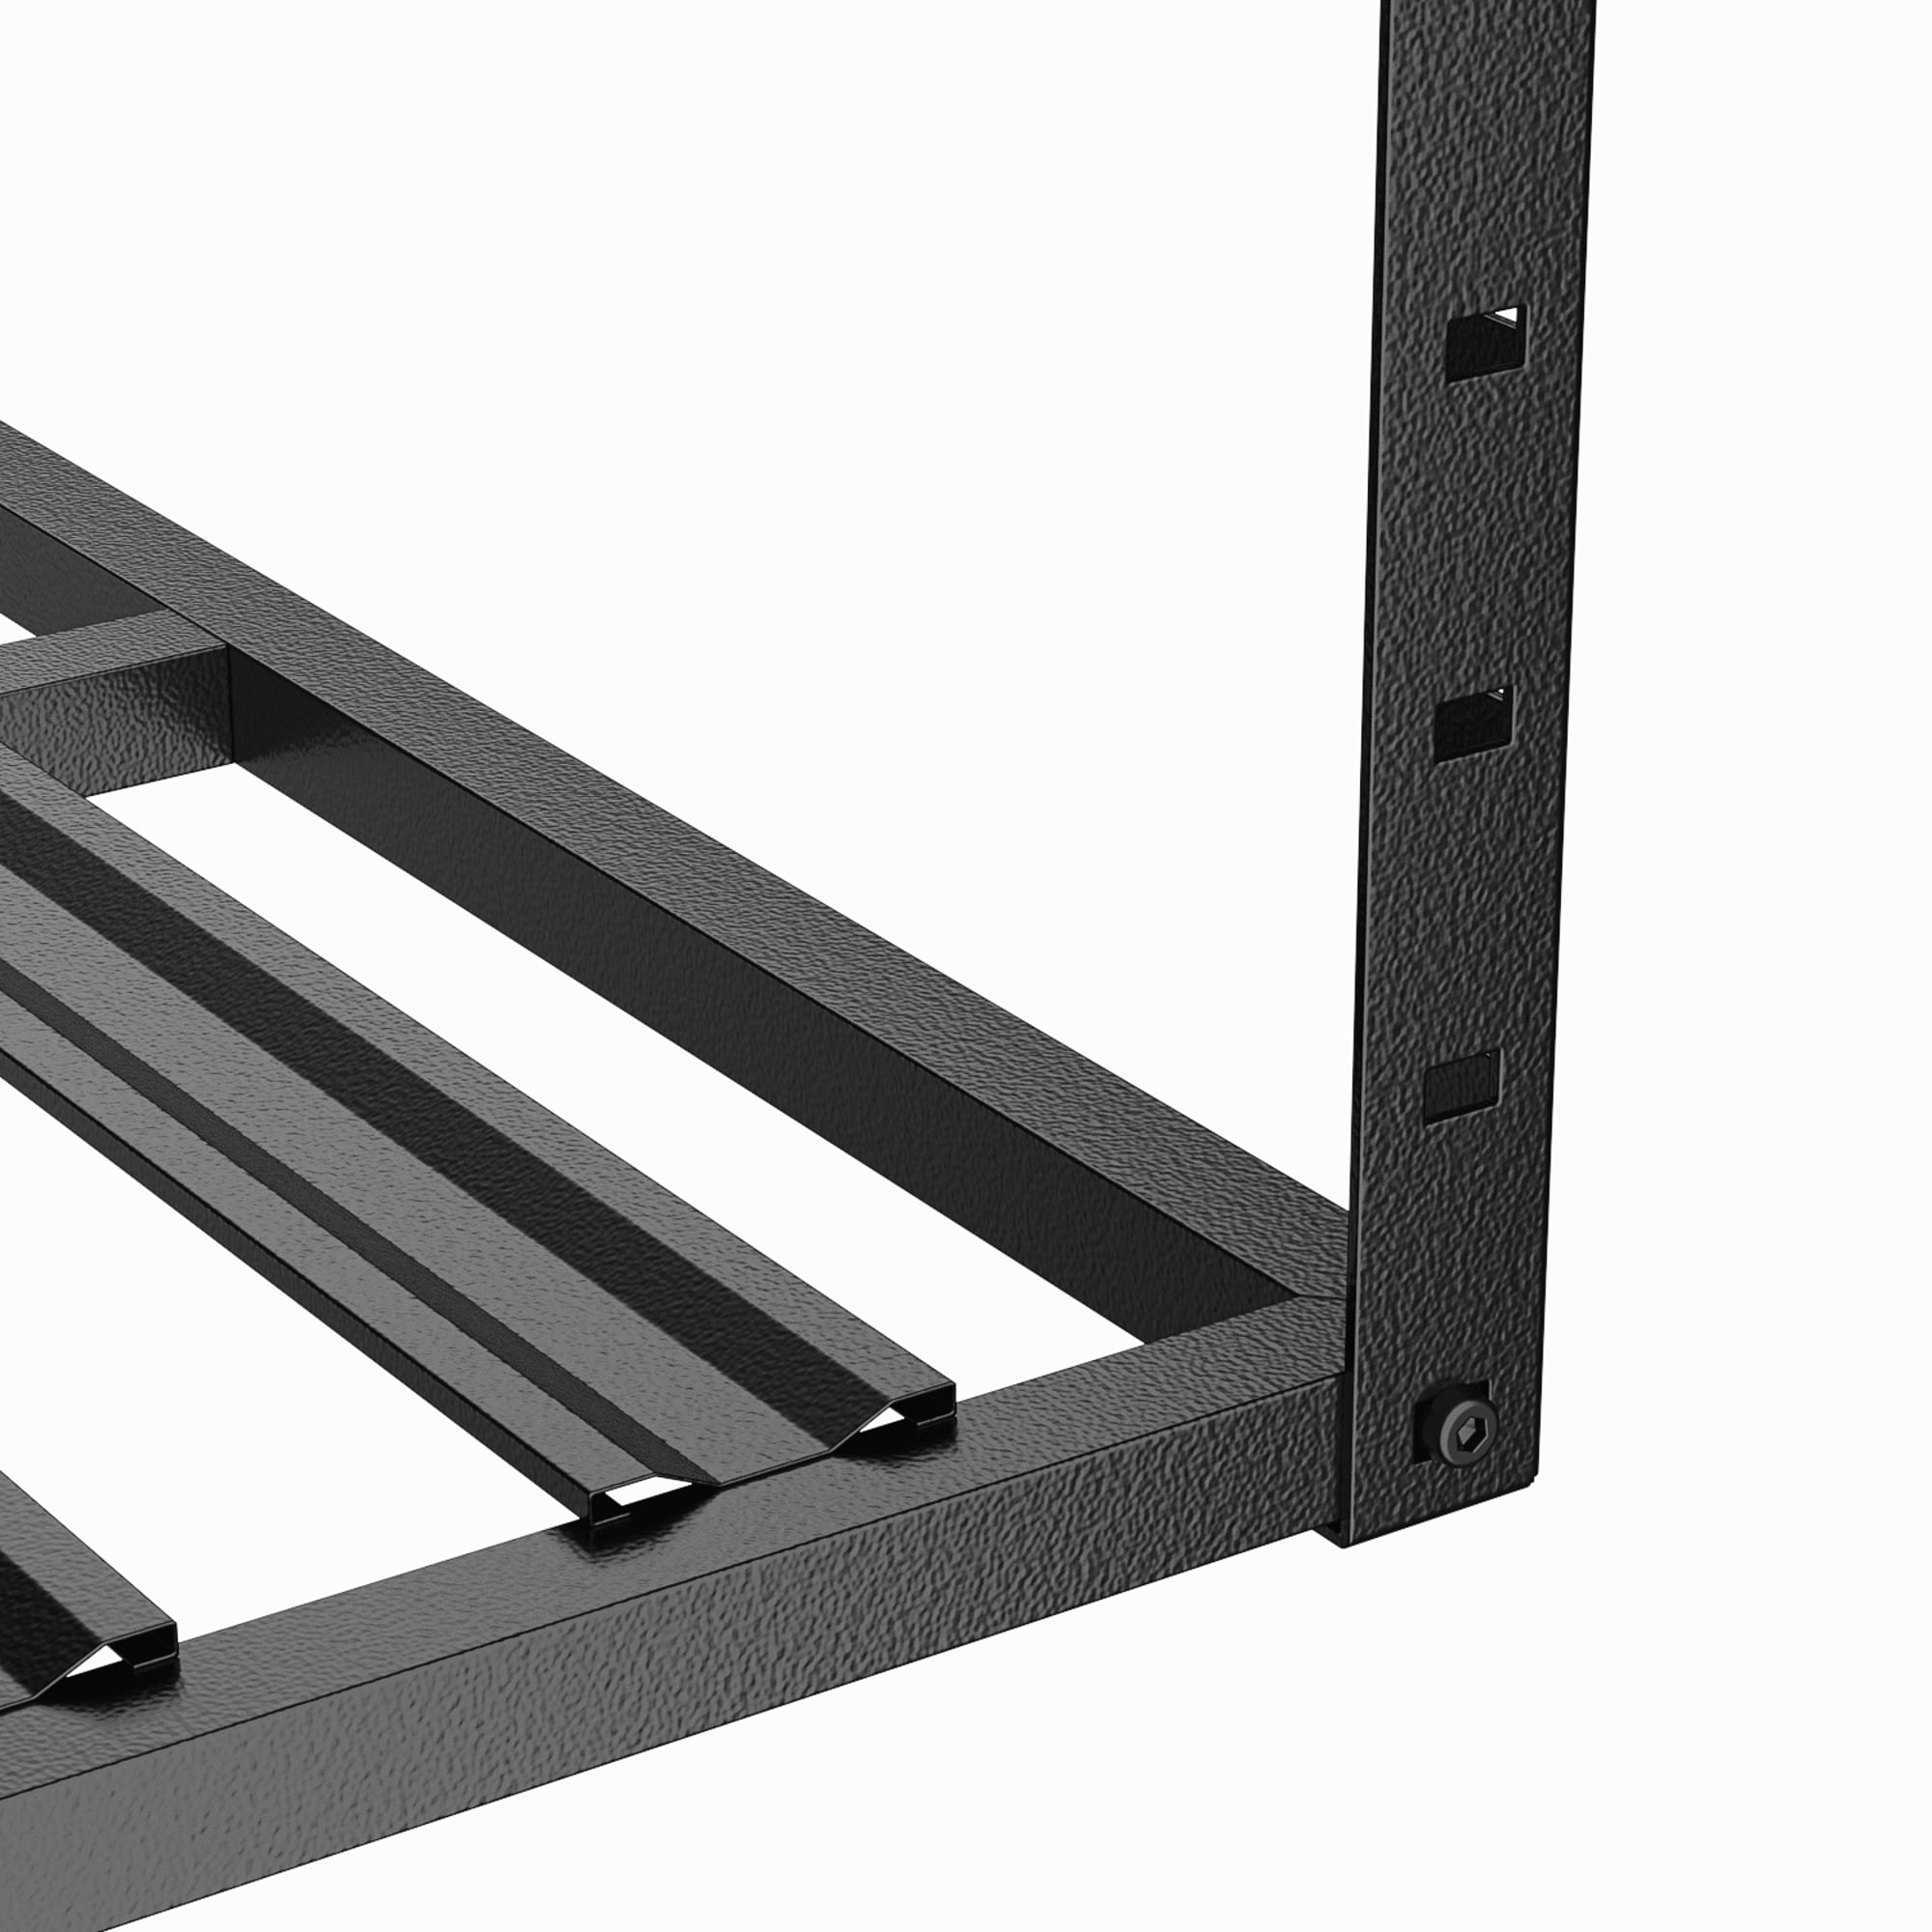
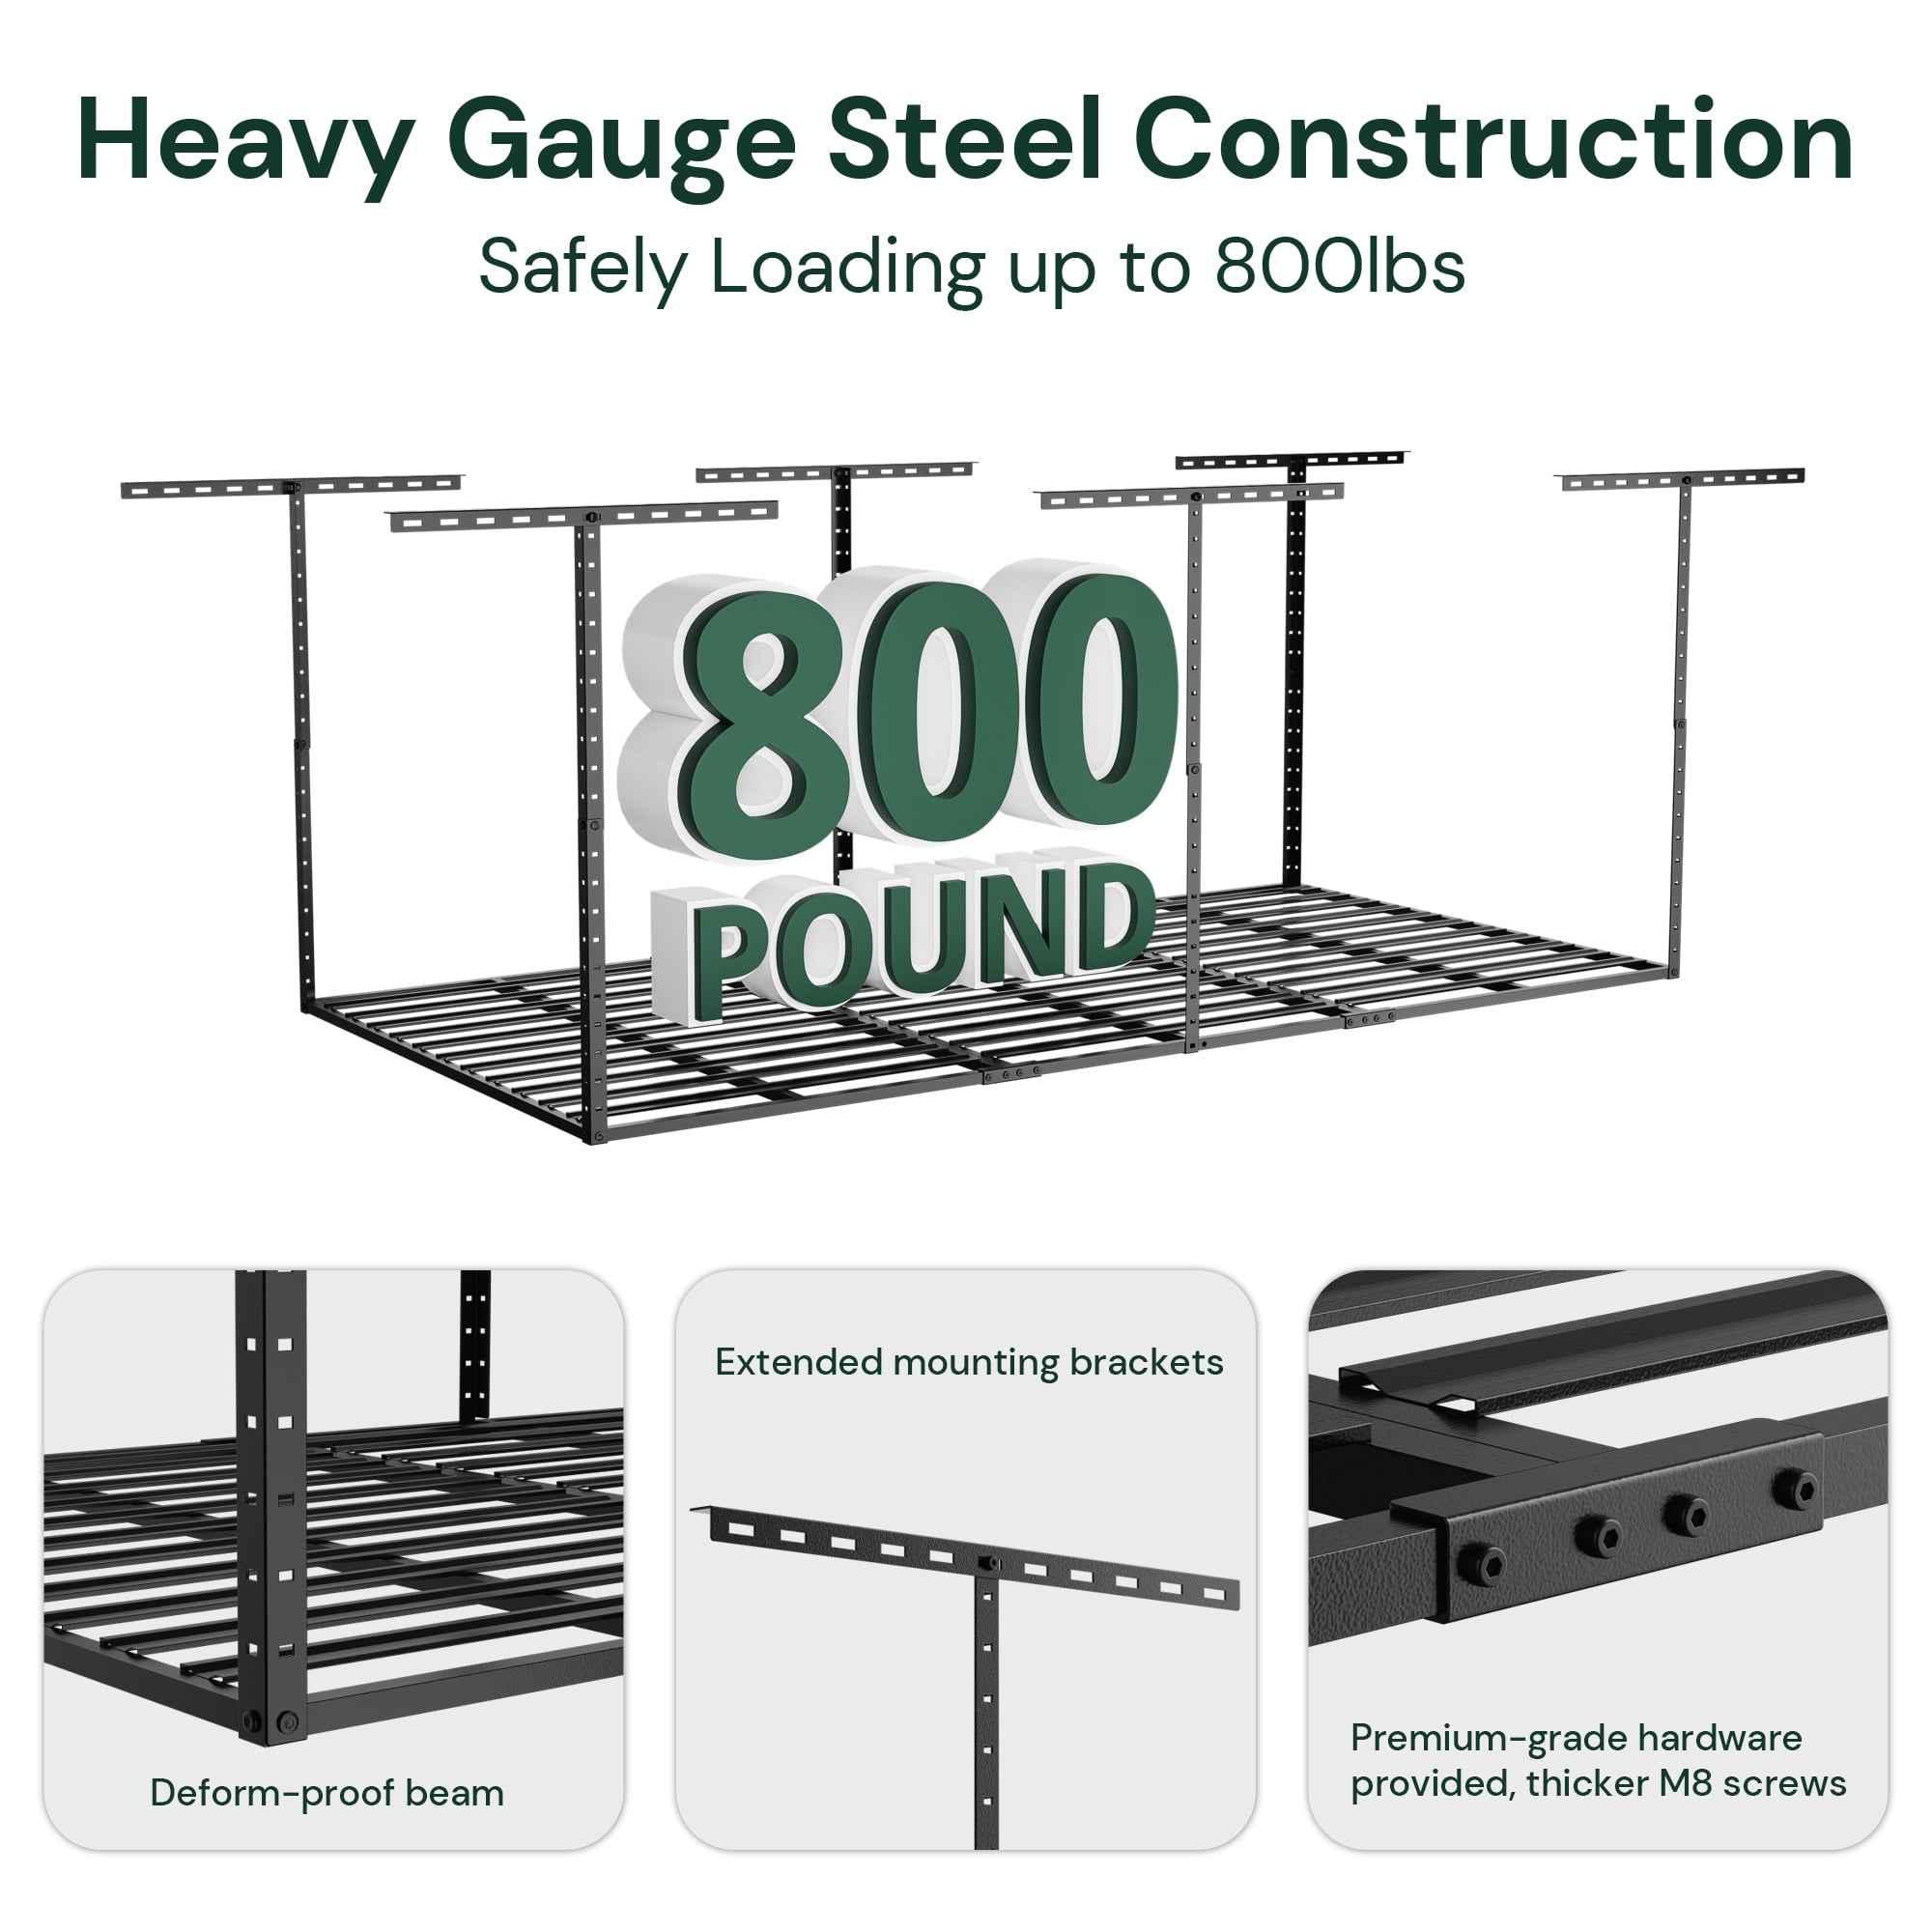
 The rack uses a reinforced cold-rolled steel frame secured throughout with 8mm bolts designed to prevent wobbling when loaded. Cold-rolled steel provides better rust resistance than hot-rolled alternatives, an important trait for garage environments where moisture and temperature fluctuate seasonally. The frame features a two-inch-wide slat grid design that distributes weight more uniformly than thin-wire racks, which can sag or bend under concentrated loads. A key upgrade here is the nine support beams—compared to the five-beam standard in many competing models—which significantly reduces flexing when storing items like canoes, holiday decoration boxes, or stacks of seasonal tires. The black hammertone finish offers both aesthetics and function: the textured surface hides dust better than smooth paint and includes an anti-corrosion protective layer suited to humid garages. The eight-hundred-pound maximum load capacity is what you need to check before stocking the rack; it represents the weight limit across the entire unit and should guide what items you place on it. Exceeding this limit places stress on ceiling joists, mounting hardware, and the bolted frame joints. The frame arrives with numbered components and pre-assembled sections that bolt together, streamlining the setup process. This construction method means you're investing in a frame rated for genuine heavy-duty use, not light decorative storage.
Measuring Your Garage to Fit the Four-by-Eight Footprint
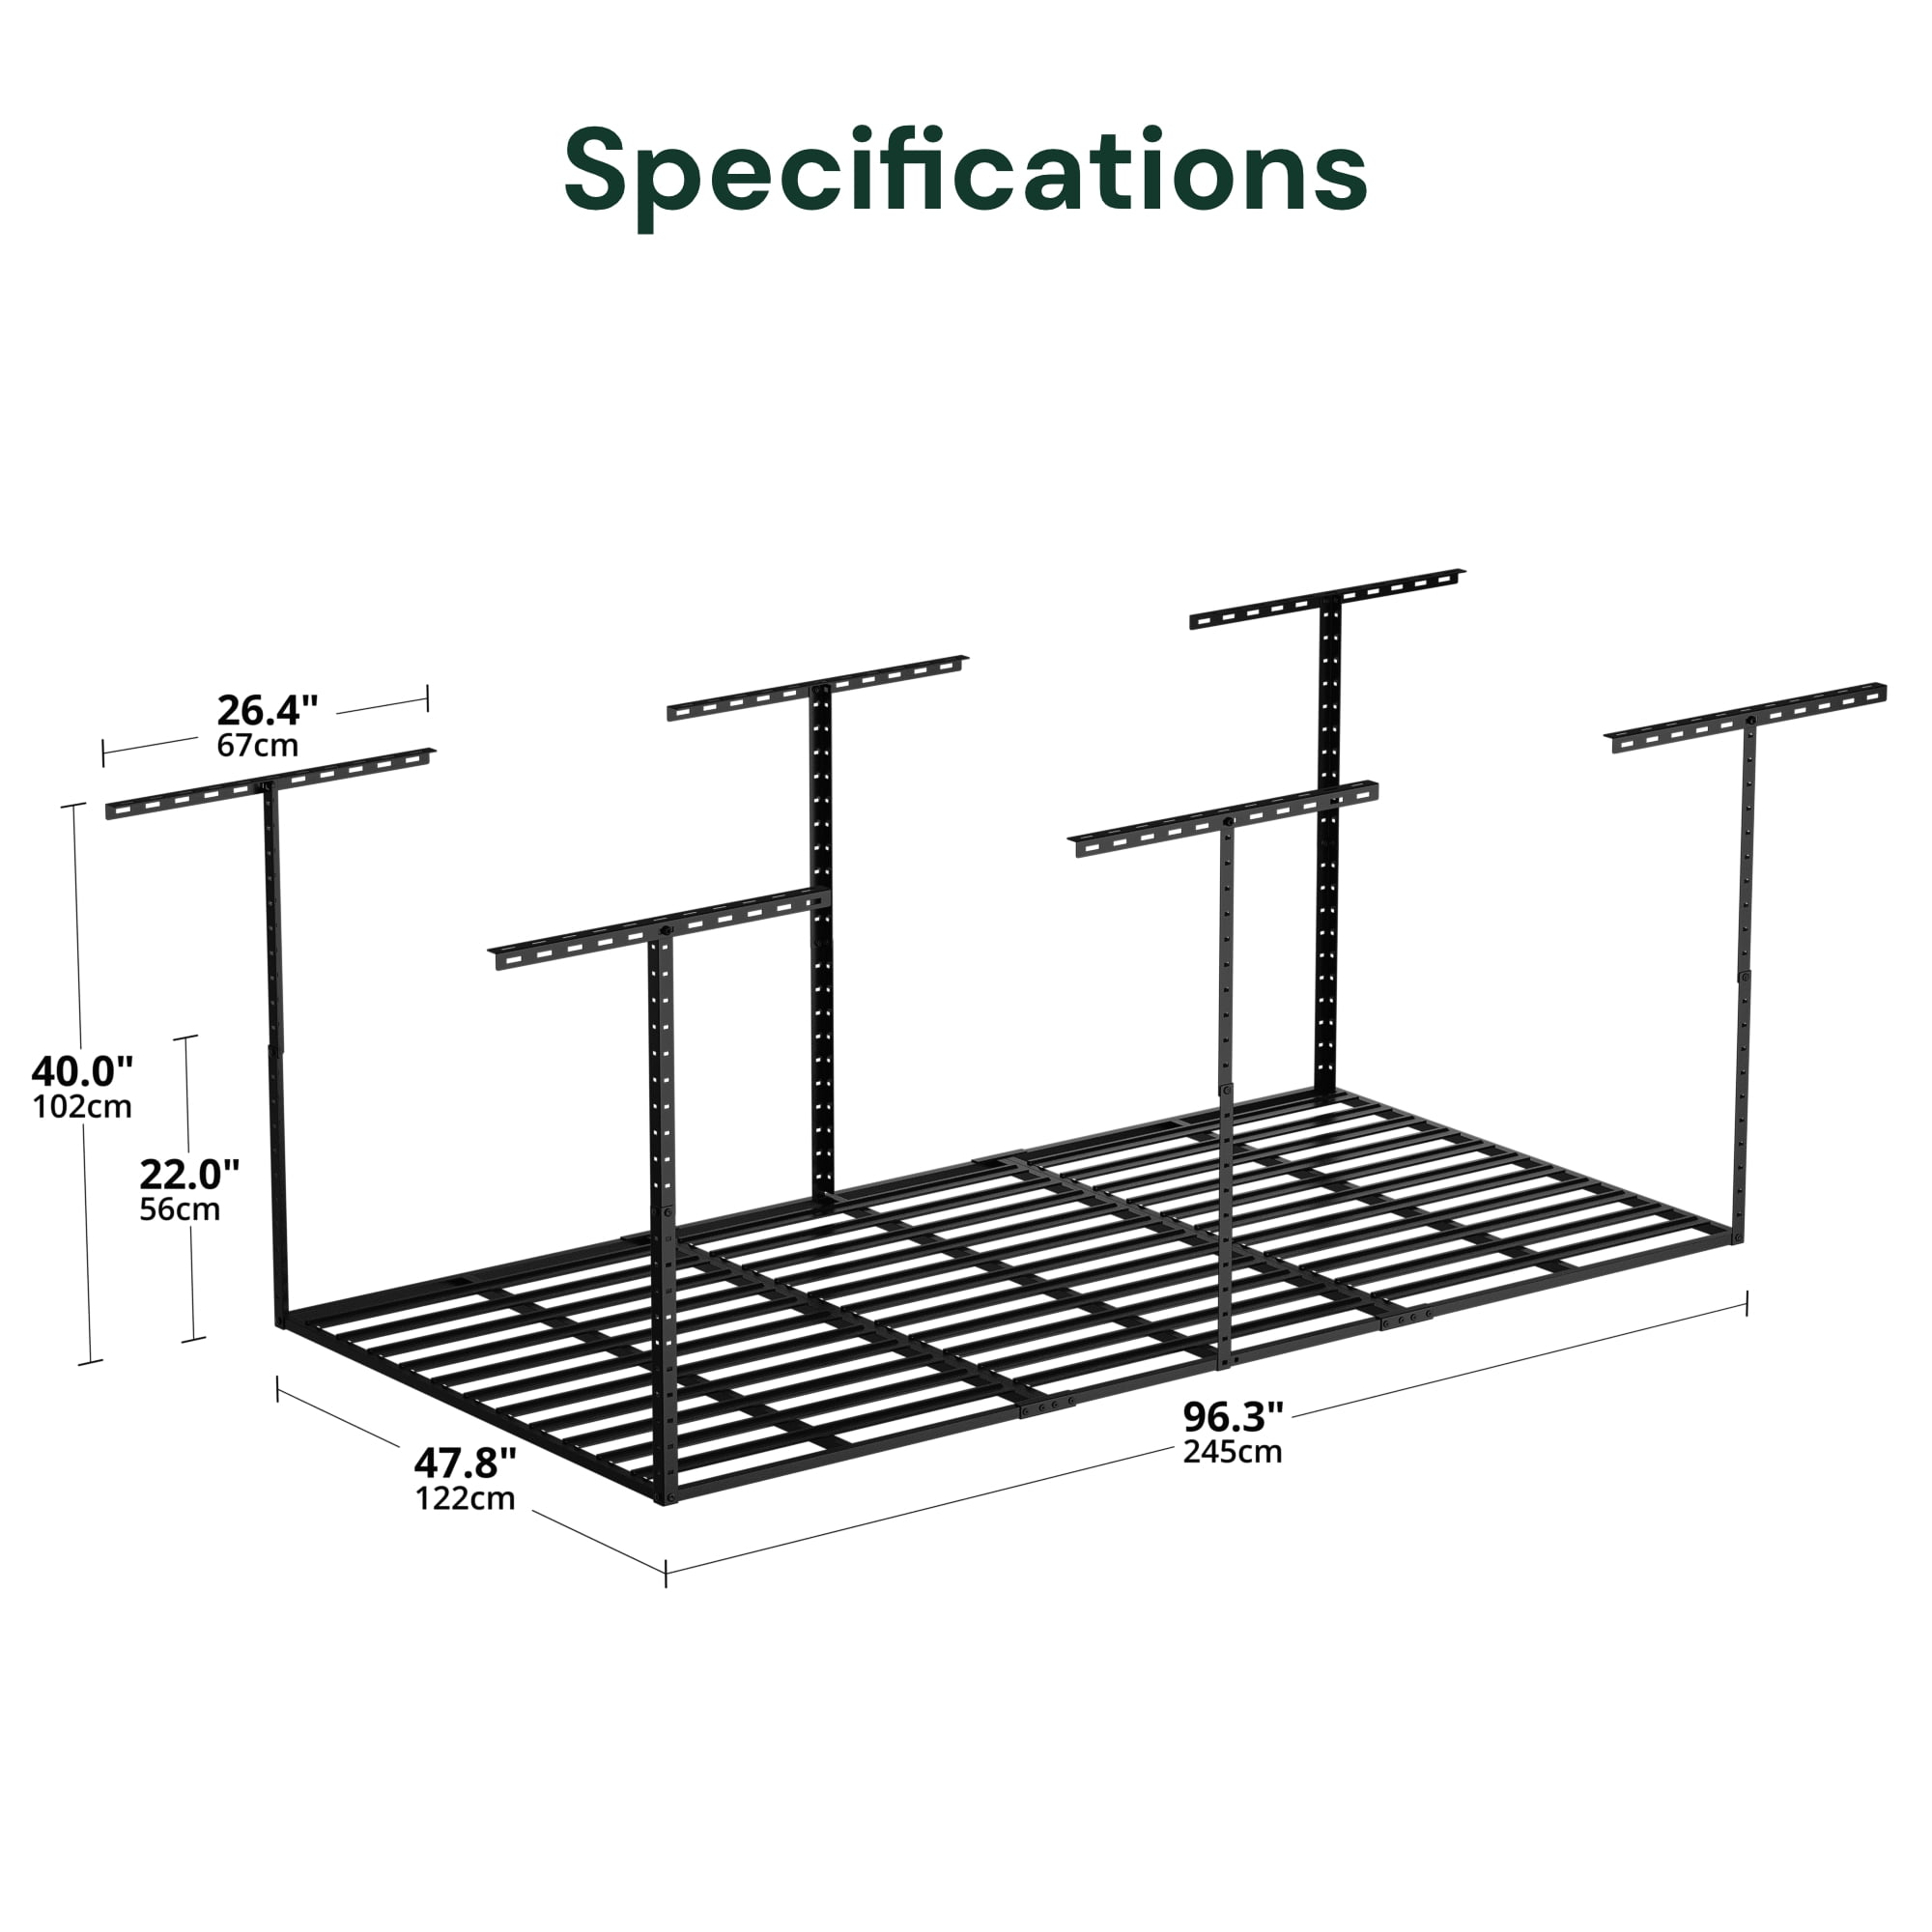
 At 96 inches wide and 48 inches deep, this overhead rack occupies a substantial ceiling area that requires careful measurement before purchase. Measure at least 48 inches of depth from one wall to confirm the space exists and doesn't intersect with vents, light fixtures, or electrical elements in the ceiling. The width of 96 inches (8 feet) should fit comfortably between walls, but remember to account for any obstacles like HVAC ducts or junction boxes that extend down from the ceiling. The rack's adjustable height feature allows you to position it anywhere from 22 to 40 inches below the ceiling joists, providing flexibility based on what items you're storing and how frequently you'll access them. The 105-cubic-foot storage volume is substantial—enough to hold several bicycles, sports equipment, suitcases, and seasonal decoration boxes at the same time; you should visualize your actual items stacked to confirm they fit comfortably. Measure your ceiling height at the exact location where you plan to install the rack, as older garages sometimes have lower spots while newer construction tends to have consistent height throughout. Confirm that the adjustable height range works with your actual ceiling height and that stored items won't interfere with opening garage doors or moving tall equipment below. The rack's own weight of 65.7 pounds means you'll want a helper during installation and initial positioning.
We may earn a commission from purchases made through this link. Price and availability are not tracked on this site.
Mounting Options for Your Ceiling Type
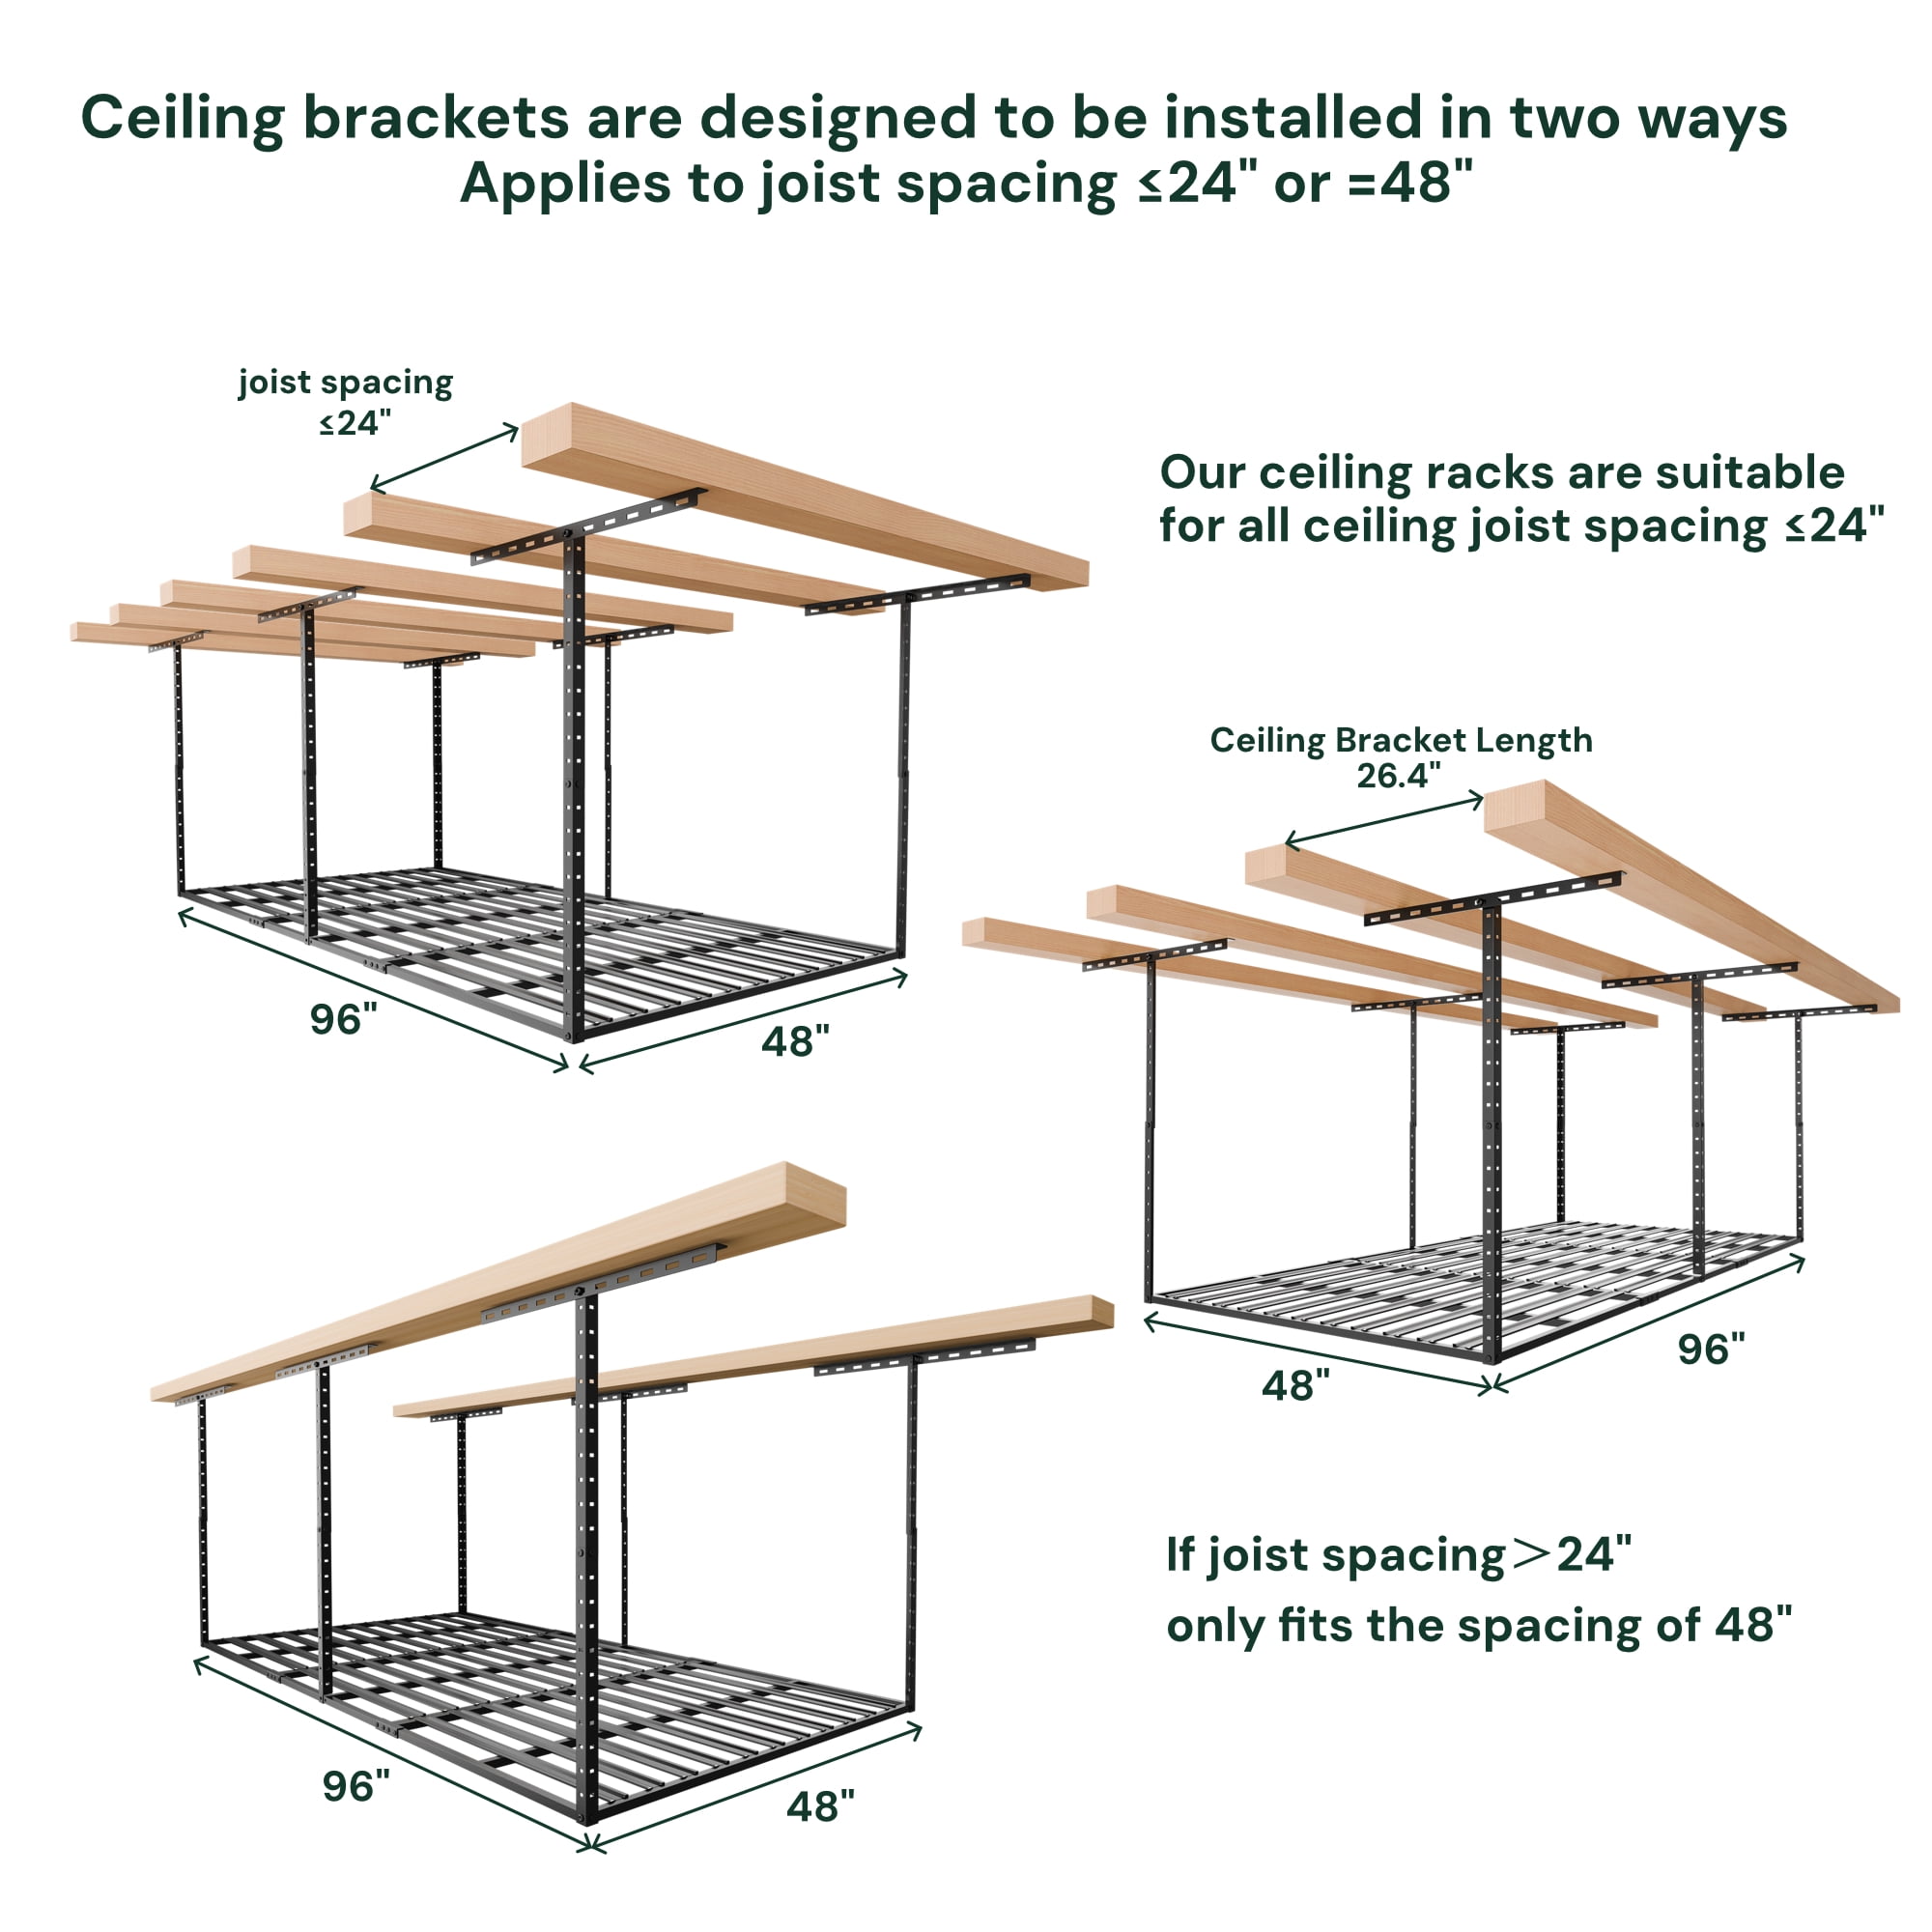
 This overhead rack includes dual mounting options: you can secure it to either wood-frame ceilings or concrete depending on your garage construction. Residential garages typically feature wooden joists spaced 16 or 24 inches apart; locating these with a stud finder is your first step, and the manual provides clear instructions for the process. Once you've identified the joist locations, the mounting hardware fastens directly through drywall into framing members with heavy-duty bolts, or for concrete ceilings, it includes concrete anchors sized to handle the eight-hundred-pound load capacity. The installation process involves drilling pilot holes through the ceiling material and into the structural substrate, then securing the mounting brackets and bolts according to the kit's numbered parts layout. Most homeowners complete this installation in a few hours using basic tools, though the task involves ceiling-height work—many opt to hire a contractor with experience in load-bearing installation. Before tightening final bolts, verify that the mounting brackets are level; adjustments can be made at this stage. The adjustable height (22 to 40 inches below the joists) means precision on initial positioning isn't critical—you can fine-tune the height later. The kit arrives with all necessary hardware in one package, requiring no additional purchases, and after installation, inspect all bolts and connections before loading any weight, as tightness at mounting points is critical for safe operation.
Caring for the Metal Finish
 The hammertone finish resists dust accumulation better than smooth paint because its textured surface disperses particles rather than trapping them in a flat coating. Routine cleaning involves a soft brush or dry cloth to remove dust and cobwebs from horizontal surfaces; this maintenance takes only a few minutes each quarter. If the rack picks up grease, garage grit, or stubborn soil—common in spaces where vehicles are serviced—a slightly damp cloth wipes it clean without requiring chemical cleaners, and you should avoid abrasive scouring pads, steel wool, or harsh solvents that can scratch the surface and expose bare steel. Because this rack includes no written warranty, all maintenance and care responsibility rests with you, making preventive attention essential for long-term durability. In humid or coastal regions, inspect the rack annually for surface rust or corrosion around bolted connections where moisture accumulates, and if spots appear, light wire-brushing followed by a thin protective coating can halt progression. Keep the grid slats clear of leaves, debris, or standing water, which trap moisture against steel surfaces over winter and promote corrosion, and drain low spots to prevent water pooling that damages finishes from underneath. Tightening bolts annually—especially in garages with vibration from garage door operation or vehicle movement—prevents looseness and stress that builds over years of use.
Before deciding, confirm that your ceiling structure can support an eight-hundred-pound load, verify the four-by-eight-foot footprint against your available space, and check that the 22-to-40-inch height adjustment accommodates your doorways and ceiling height. Plan what items you'll actually store and how often you'll retrieve them, ensuring the location remains accessible for regular use rather than turning into permanent clutter.