MonsterRax 4x6 Overhead Garage Storage Rack: Reclaiming Garage Floor Space
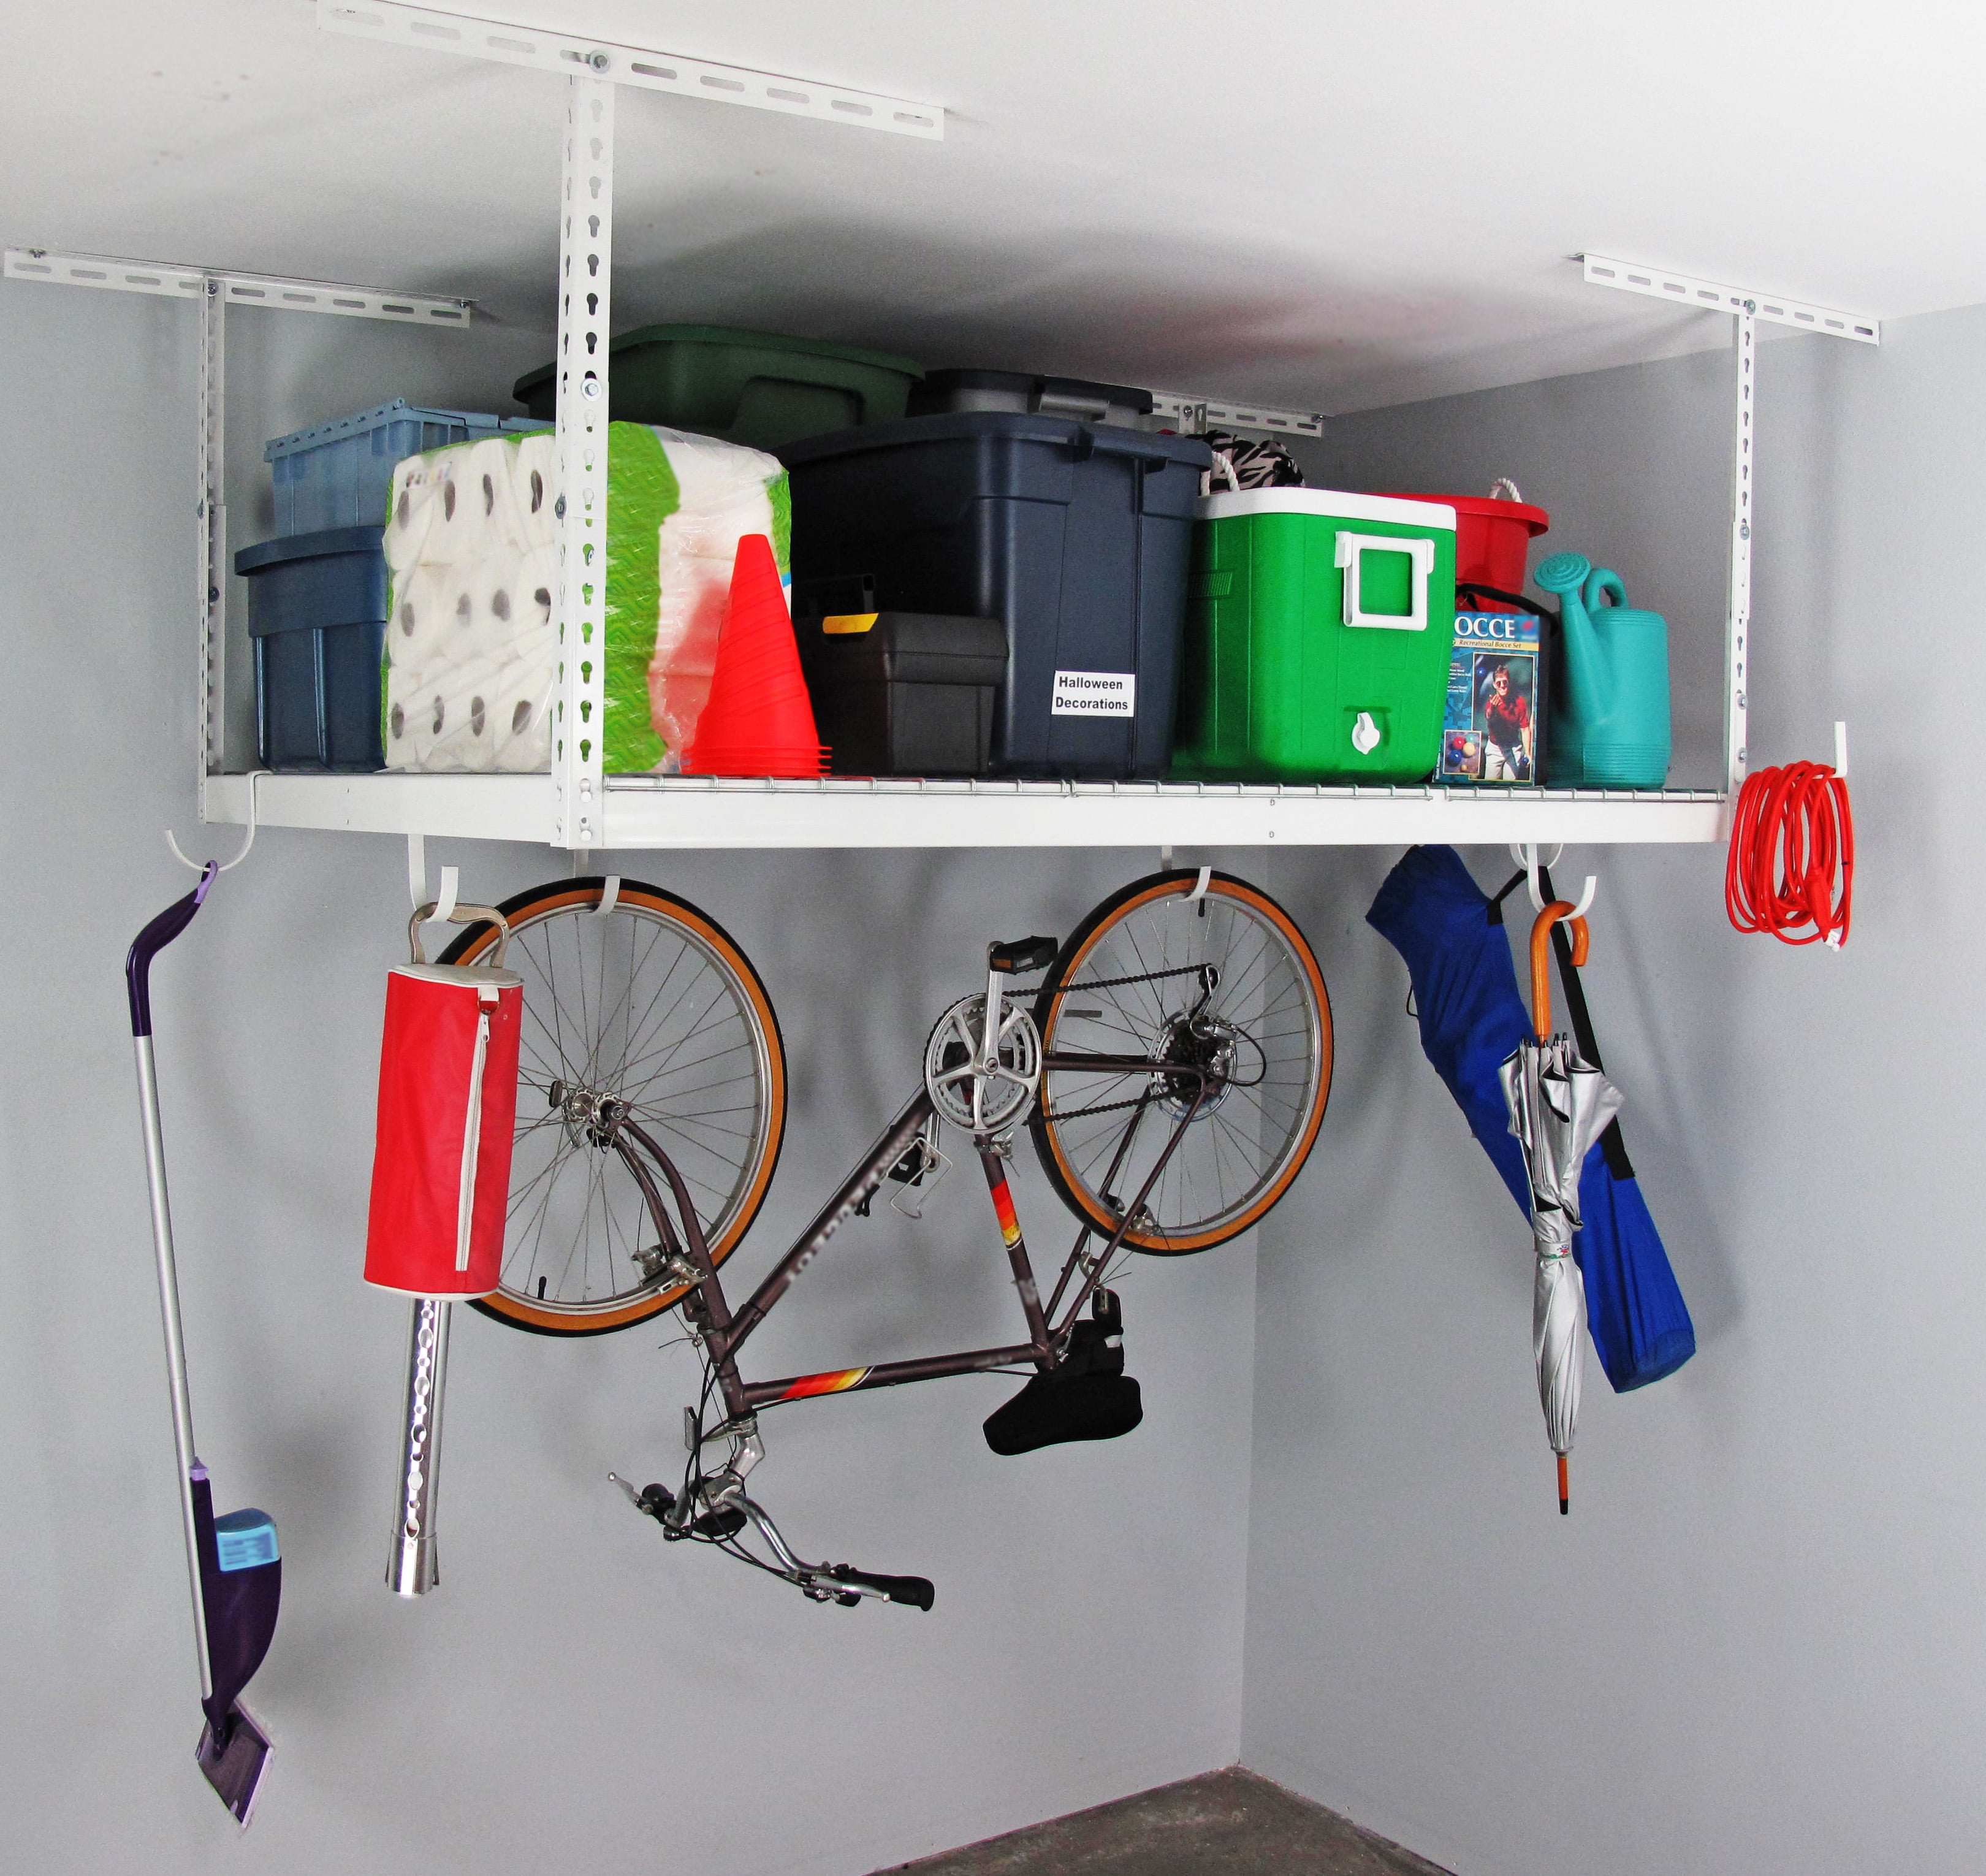
Garage floors quickly fill with seasonal items, rarely-used tools, and equipment you want accessible but not underfoot. An overhead storage rack moves that burden into unused ceiling space, freeing the floor for your vehicle and daily workflow. A 4x6 configuration offers enough capacity for most single-bay garages without the investment or space footprint of a larger system.
Contents
Understanding the Steel Frame and Weight Rating
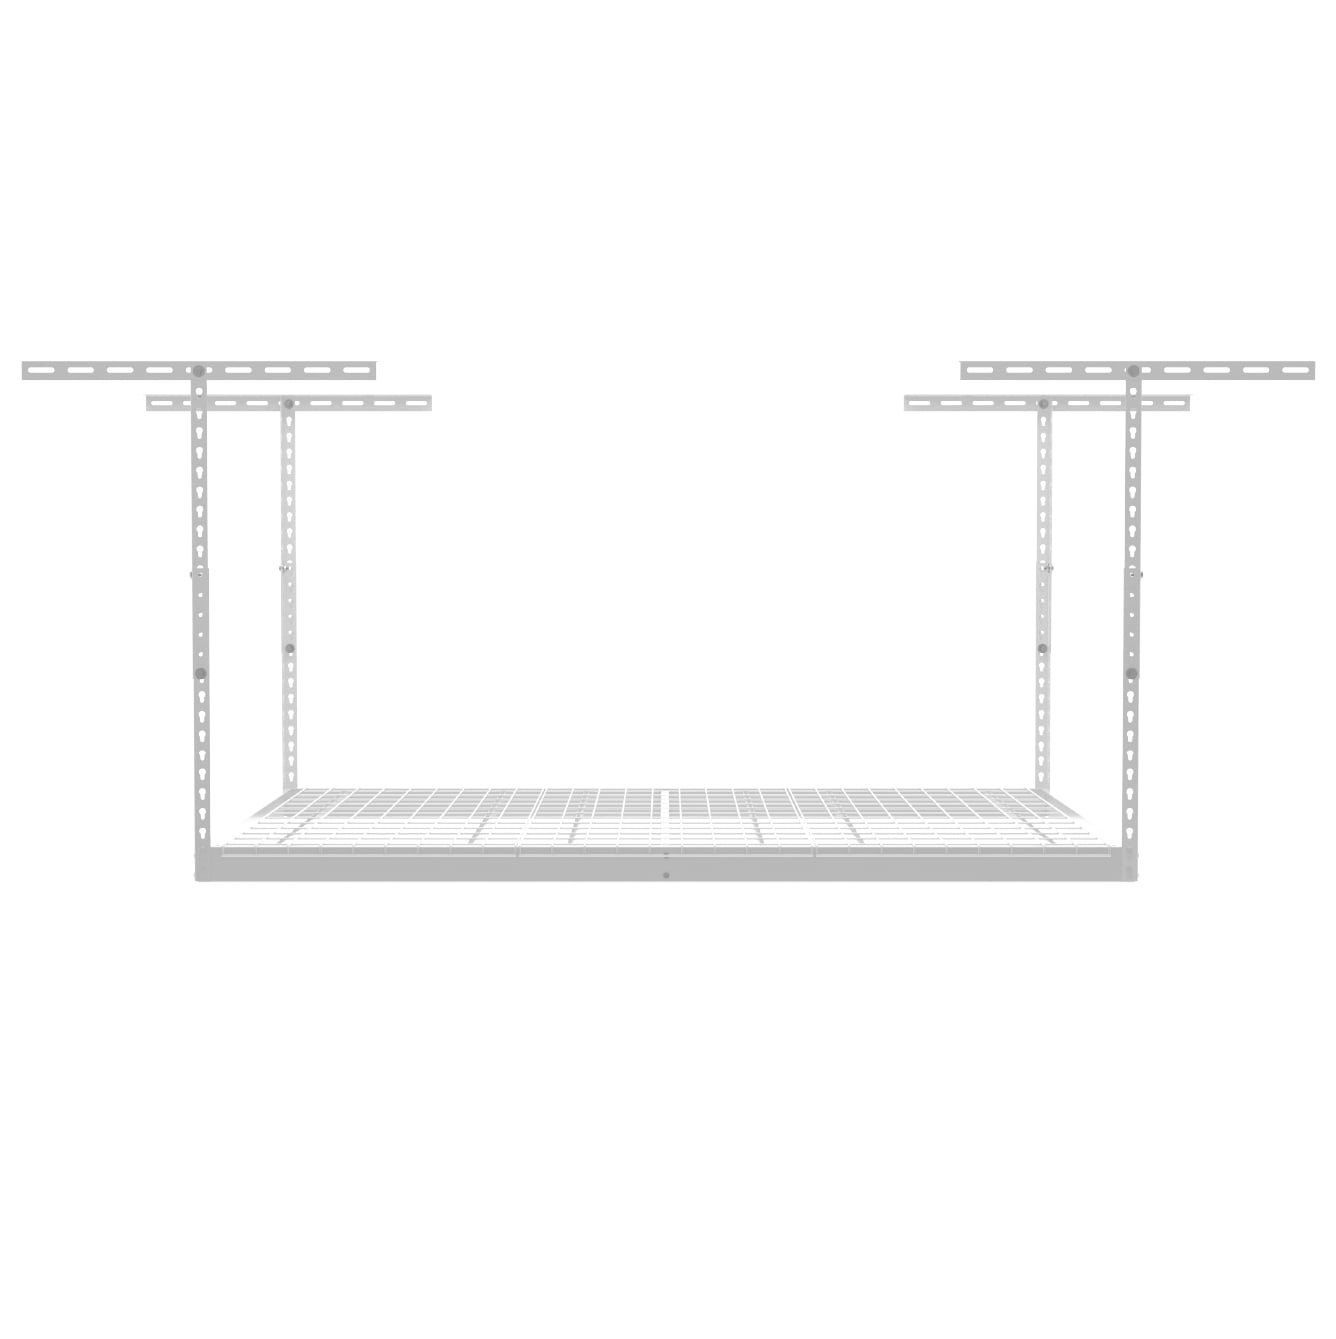 The MonsterRax rack is built from industrial-grade steel with a powder-coat finish, materials chosen to resist rust and handle repeated load cycles without permanent deformation. The 500-pound weight capacity refers to the total load the entire platform can safely hold at once, not a per-shelf or per-corner maximum. That 500-pound rating means you can fill the space with multiple sealed boxes of winter clothing, holiday decorations, camping equipment, folded seasonal furniture, or stacks of plastic storage containers holding garage inventory. The product provides 90 cubic feet of storage volume, roughly equivalent to a built-in closet measuring 4 feet wide by 6 feet deep by an average headroom height. The powder-coat finish is essential for garage duty; it creates a protective barrier against moisture, humidity swings, and the occasional splash of water or oil that garage environments introduce. At 63 pounds in shipping weight, the system is substantial enough to convey industrial durability but manageable for two people to position and secure. The fastening system the manufacturer uses distributes load across multiple connection points rather than relying on a few heavy bolts, which means the stress on each anchor point stays within safe limits even with heavy, uneven loading. This distributed-load approach reduces the risk of fastener stress and frame flex over years of seasonal storage use. The design reflects industrial-grade thinking applied to residential garage storage.
Verifying Ceiling Height and Mounting Space
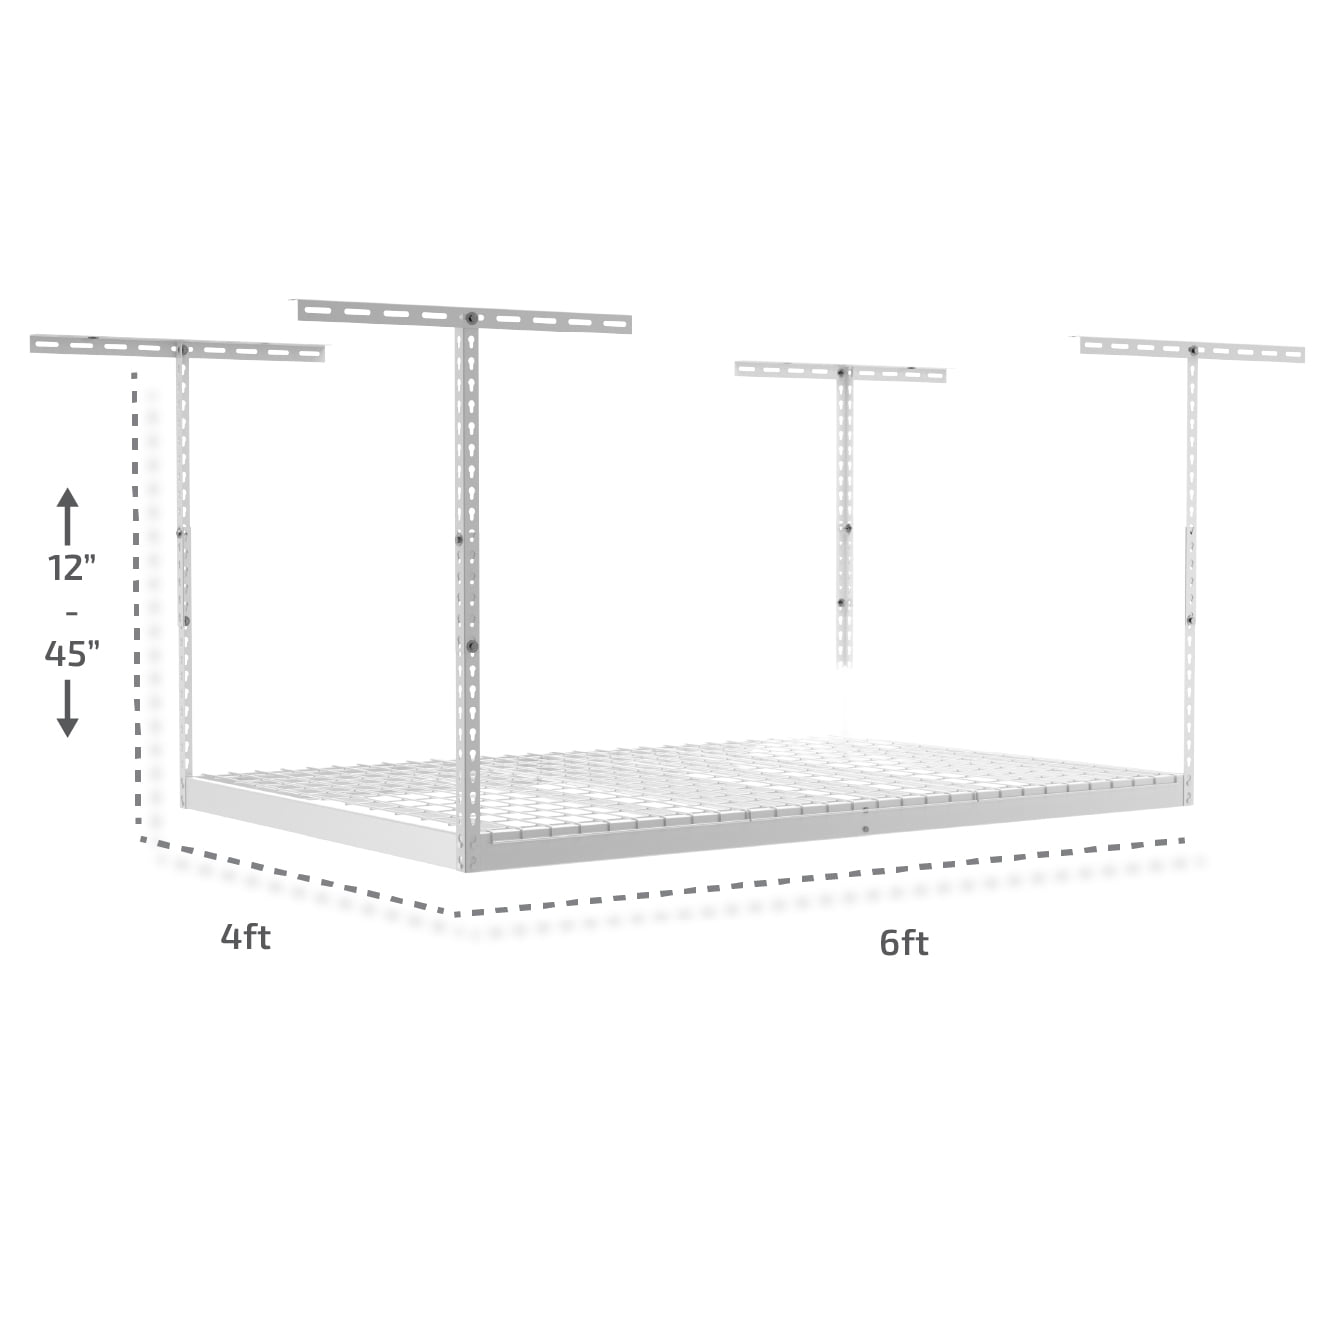
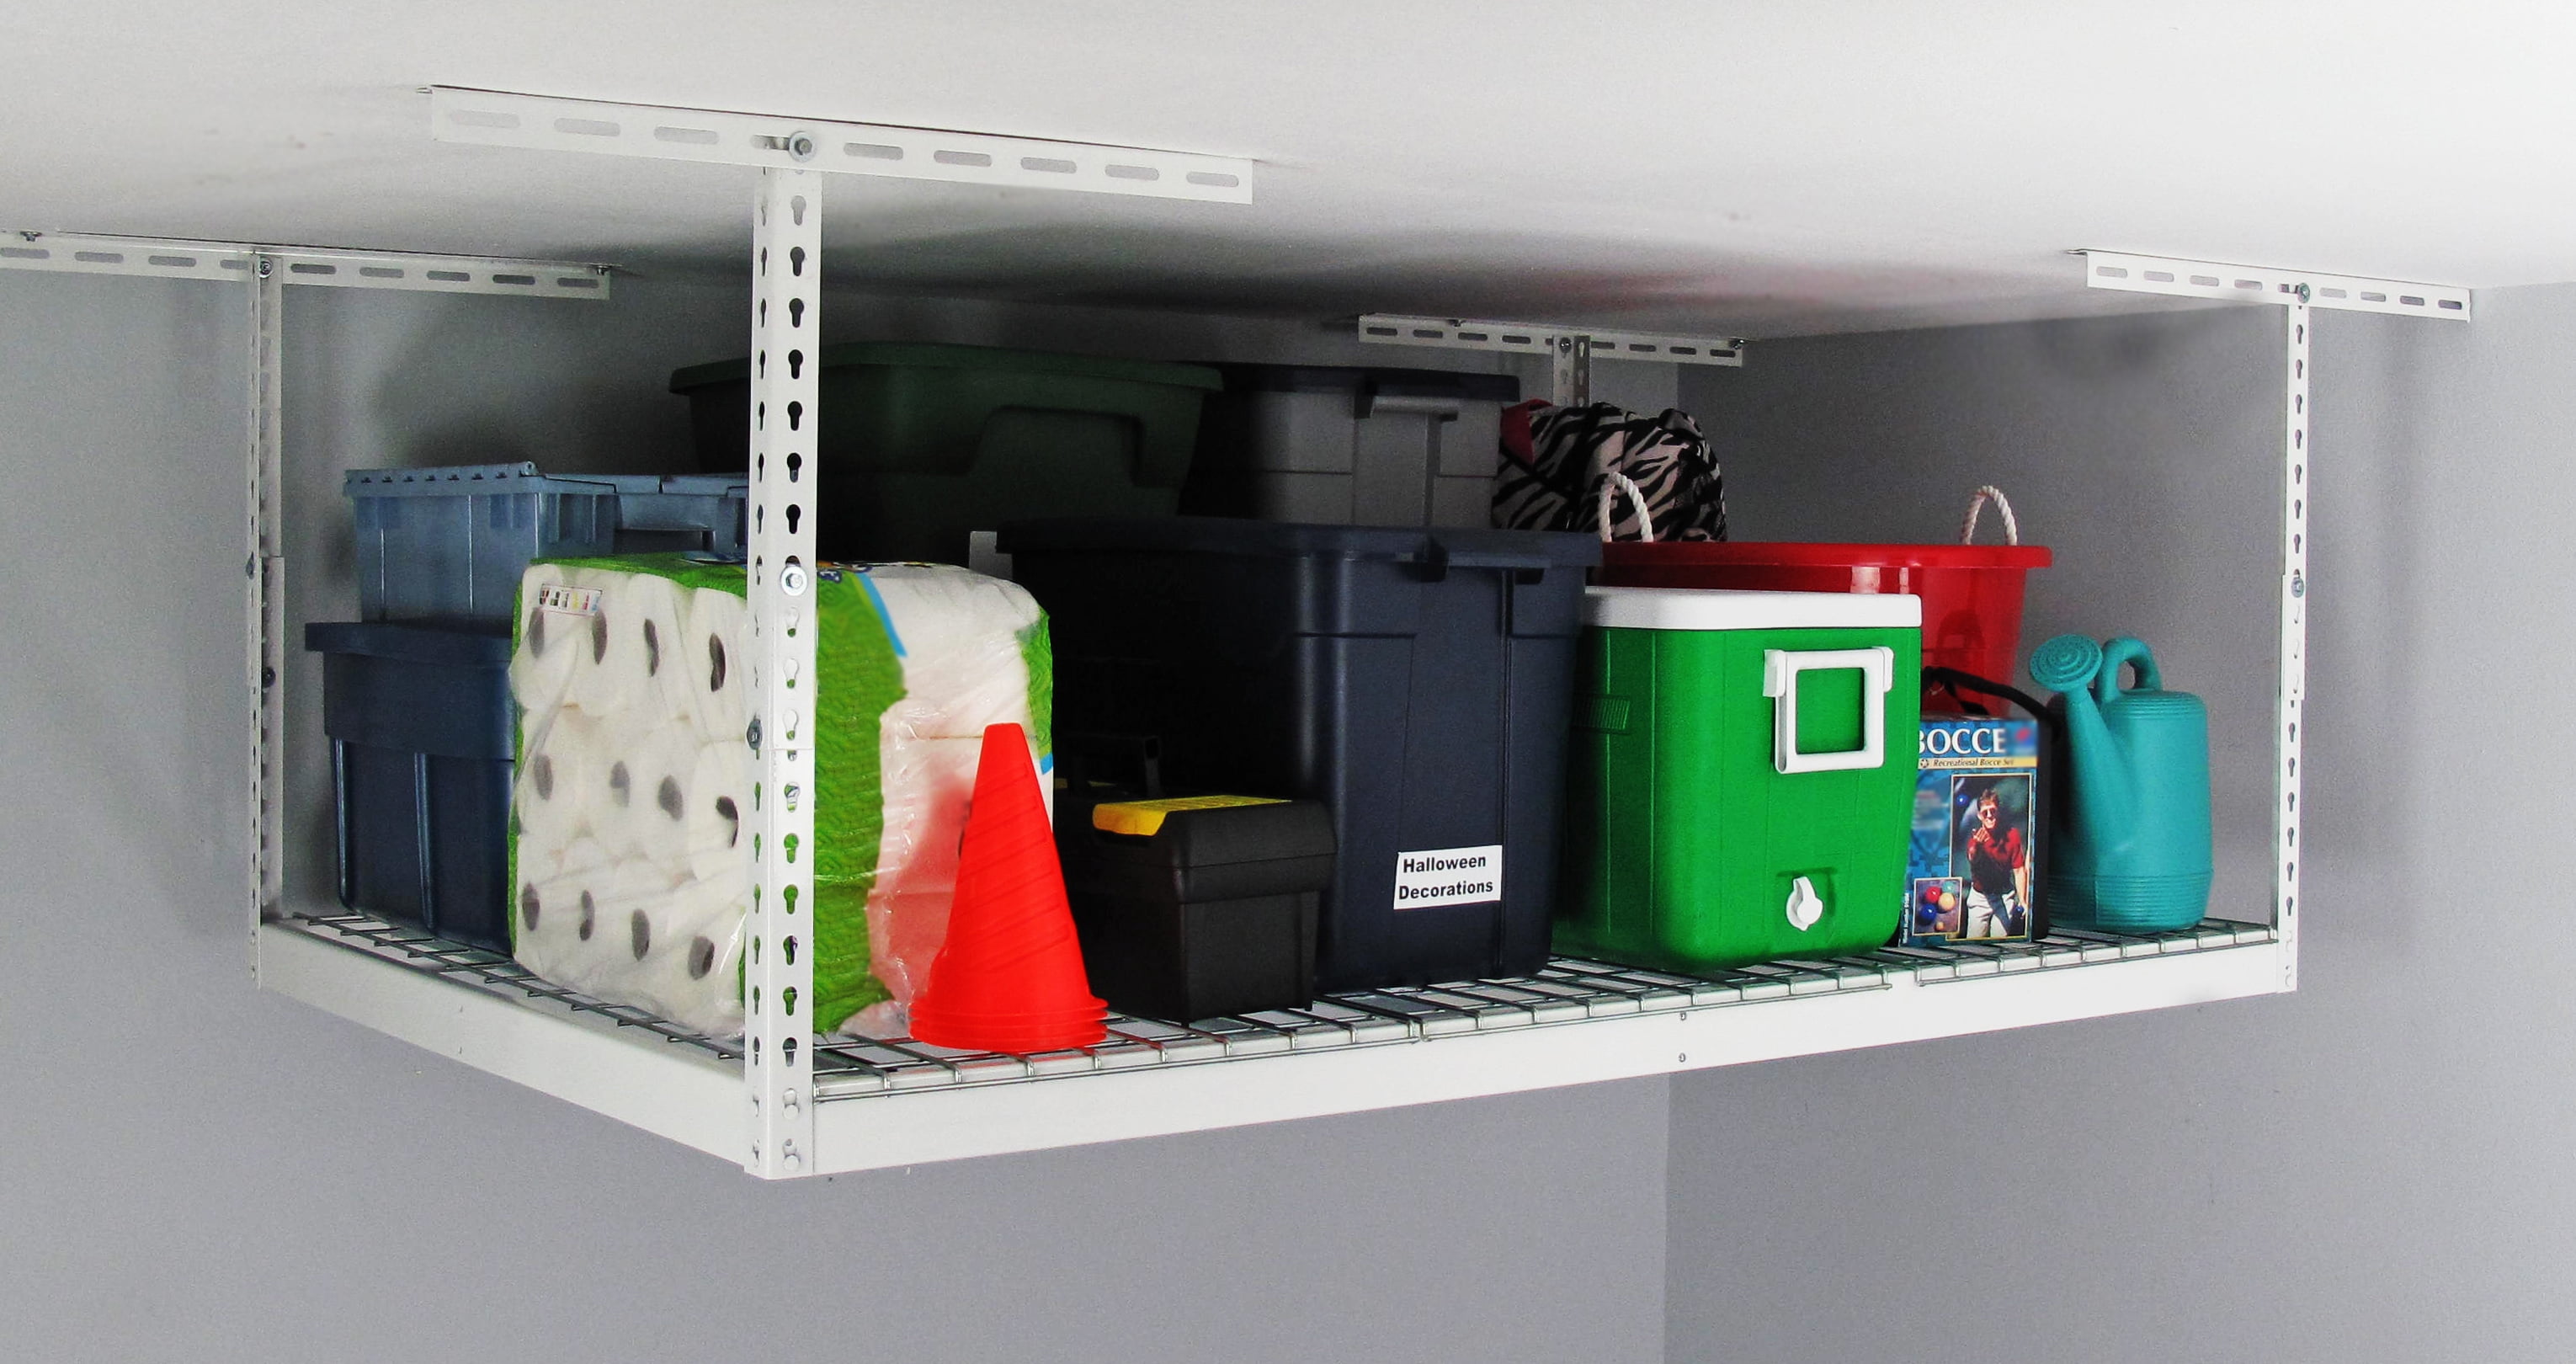 Before purchasing, confirm your garage has at least 4 feet by 6 feet of unobstructed ceiling available; older garage bays sometimes have posts, beams, or structural elements that consume that footprint. The height adjustment spans from 12 inches to 45 inches below the ceiling, accommodating both tight clearances and greater drops for easier loading. Measure your vehicle's roof height with cargo or a roof rack installed, then add the depth of items you plan to store overhead to determine how much clearance you actually need. Ceilings are often uneven side to side; take measurements at multiple points where mounting will occur to identify the lowest spots. If your garage ceiling is 8 feet, a 30-inch drop leaves you 4.5 feet of overhead clearance—adequate for boxes and bins, tight for stacking large plastic containers. Plot the 4x6 footprint on the garage floor with tape and walk around it to confirm the installation will not create an obstruction or restrict your vehicle's movement and parking. Inspect your ceiling from the attic to locate roof trusses or joists where mounting bolts will anchor, as the manual specifies exact support requirements. A ceiling made of drywall alone without adequate joist backing may require additional reinforcement before the rack can be safely mounted.
We may earn a commission from purchases made through this link. Price and availability are not tracked on this site.
Choosing the Right Placement in Your Garage
 The ideal location is any ceiling space that would otherwise remain empty and unproductive for its full height. In a two-car garage, above one parking space is the most common placement, freeing the other bay for parking and leaving the side walls available for pegboards or tool storage. In a one-car garage, positioning the rack toward the back wall or above an infrequently-used workbench keeps the main driving and maneuvering lane clear. The rack does not have to sit directly above a vehicle; it works equally well positioned over a tool wall, shelving unit, or the corner where seasonal items accumulate. Before installation, think about frequency of access: items you retrieve monthly should hang low enough to reach with a step stool, while annual items can sit higher. The mounting location must be above structurally sound ceiling—drywall-only or popcorn-textured ceilings may lack sufficient holding strength unless bolts catch the joists or trusses beneath. Garages with textured 1970s-style ceilings sometimes need additional reinforcement or bracing above to safely anchor the load. Once installed, the rack occupies overhead visual space and can create a psychological sense of lower headroom, even if actual clearance is adequate—weigh this when choosing mounting height. Access via step ladder for loading and unloading is normal and expected with any overhead storage system.
Installation, Assembly, and Ongoing Care
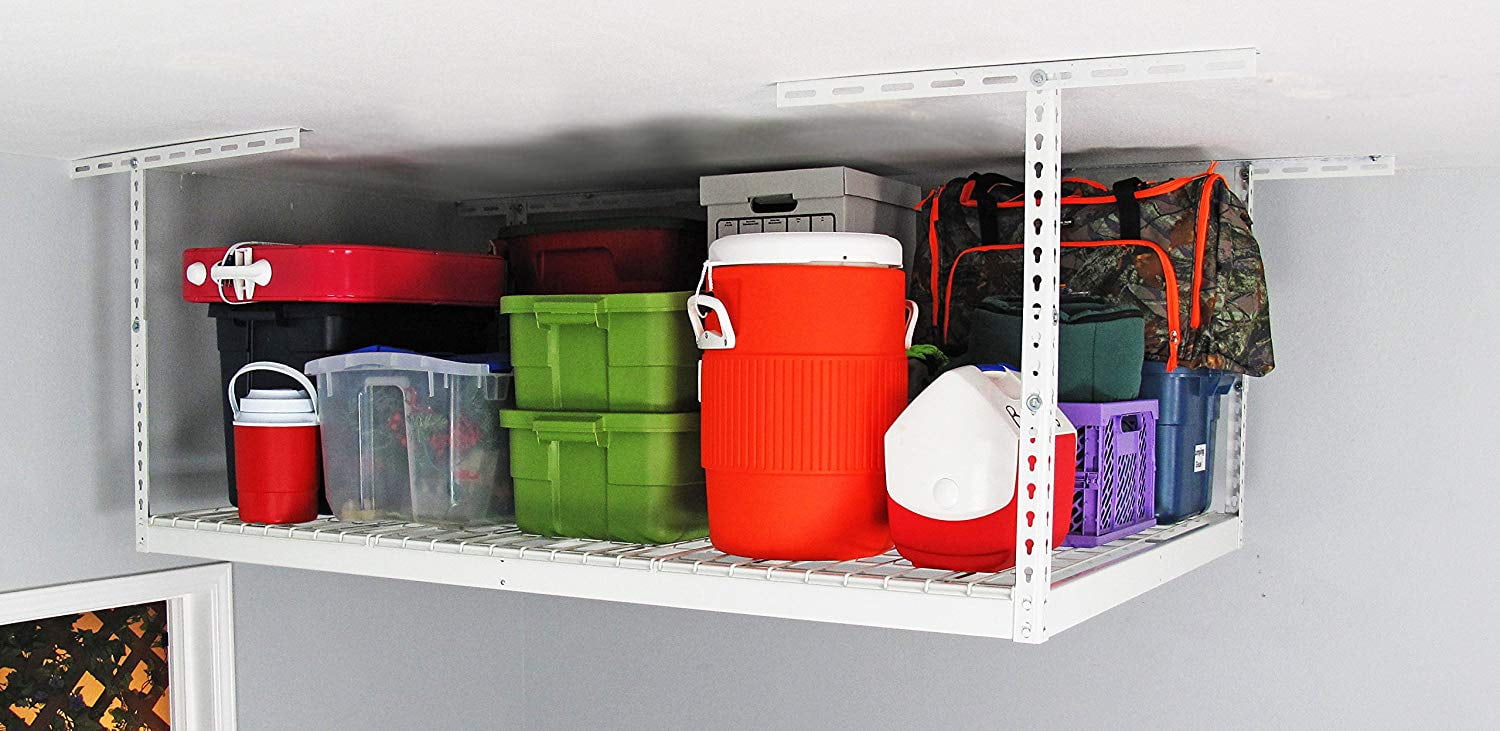 Assembly is required and typically takes two people two to four hours, depending on your tool familiarity and comfort with ceiling fastening. The kit ships complete with all frame bolts, fasteners, and hardware; you supply a power drill, wrench set, level, and stud finder or flashlight to locate joists. The critical step is ceiling fastening: you drill directly into joists or trusses and secure structural anchors rated for the load, following the manual's specifications exactly—improper fastening is the primary cause of sagging or structural failure. Once installed, the powder-coat finish requires minimal upkeep; wipe the frame with a dry cloth every few months to prevent moisture pooling, debris buildup, or grit scratching the protective coating. When storing items directly on steel, place cardboard or plastic liners between containers and the metal to prevent moisture transfer and maintain air circulation underneath. The manufacturer provides a limited lifetime warranty covering material and construction defects; normal wear, improper installation, and overloading are excluded. Leave the rack installed permanently rather than removing seasonally, as repeated fastening cycles loosen bolts and ceiling holes can be damaged over time. If you relocate, leaving the mounting hardware in place avoids additional ceiling patching. Some owners apply automotive wax annually for appearance, though it is not necessary for function or protection.
Before purchase, sketch your garage layout and mark where the 4x6 footprint would sit, confirming your vehicles and workflow still function around it. Verify your ceiling height at multiple points and inspect the joist structure from your attic to ensure proper mounting support. These steps help ensure the system fits both your physical space and your storage needs.