Overhead Garage Storage: How to Choose and Install a Ceiling Rack
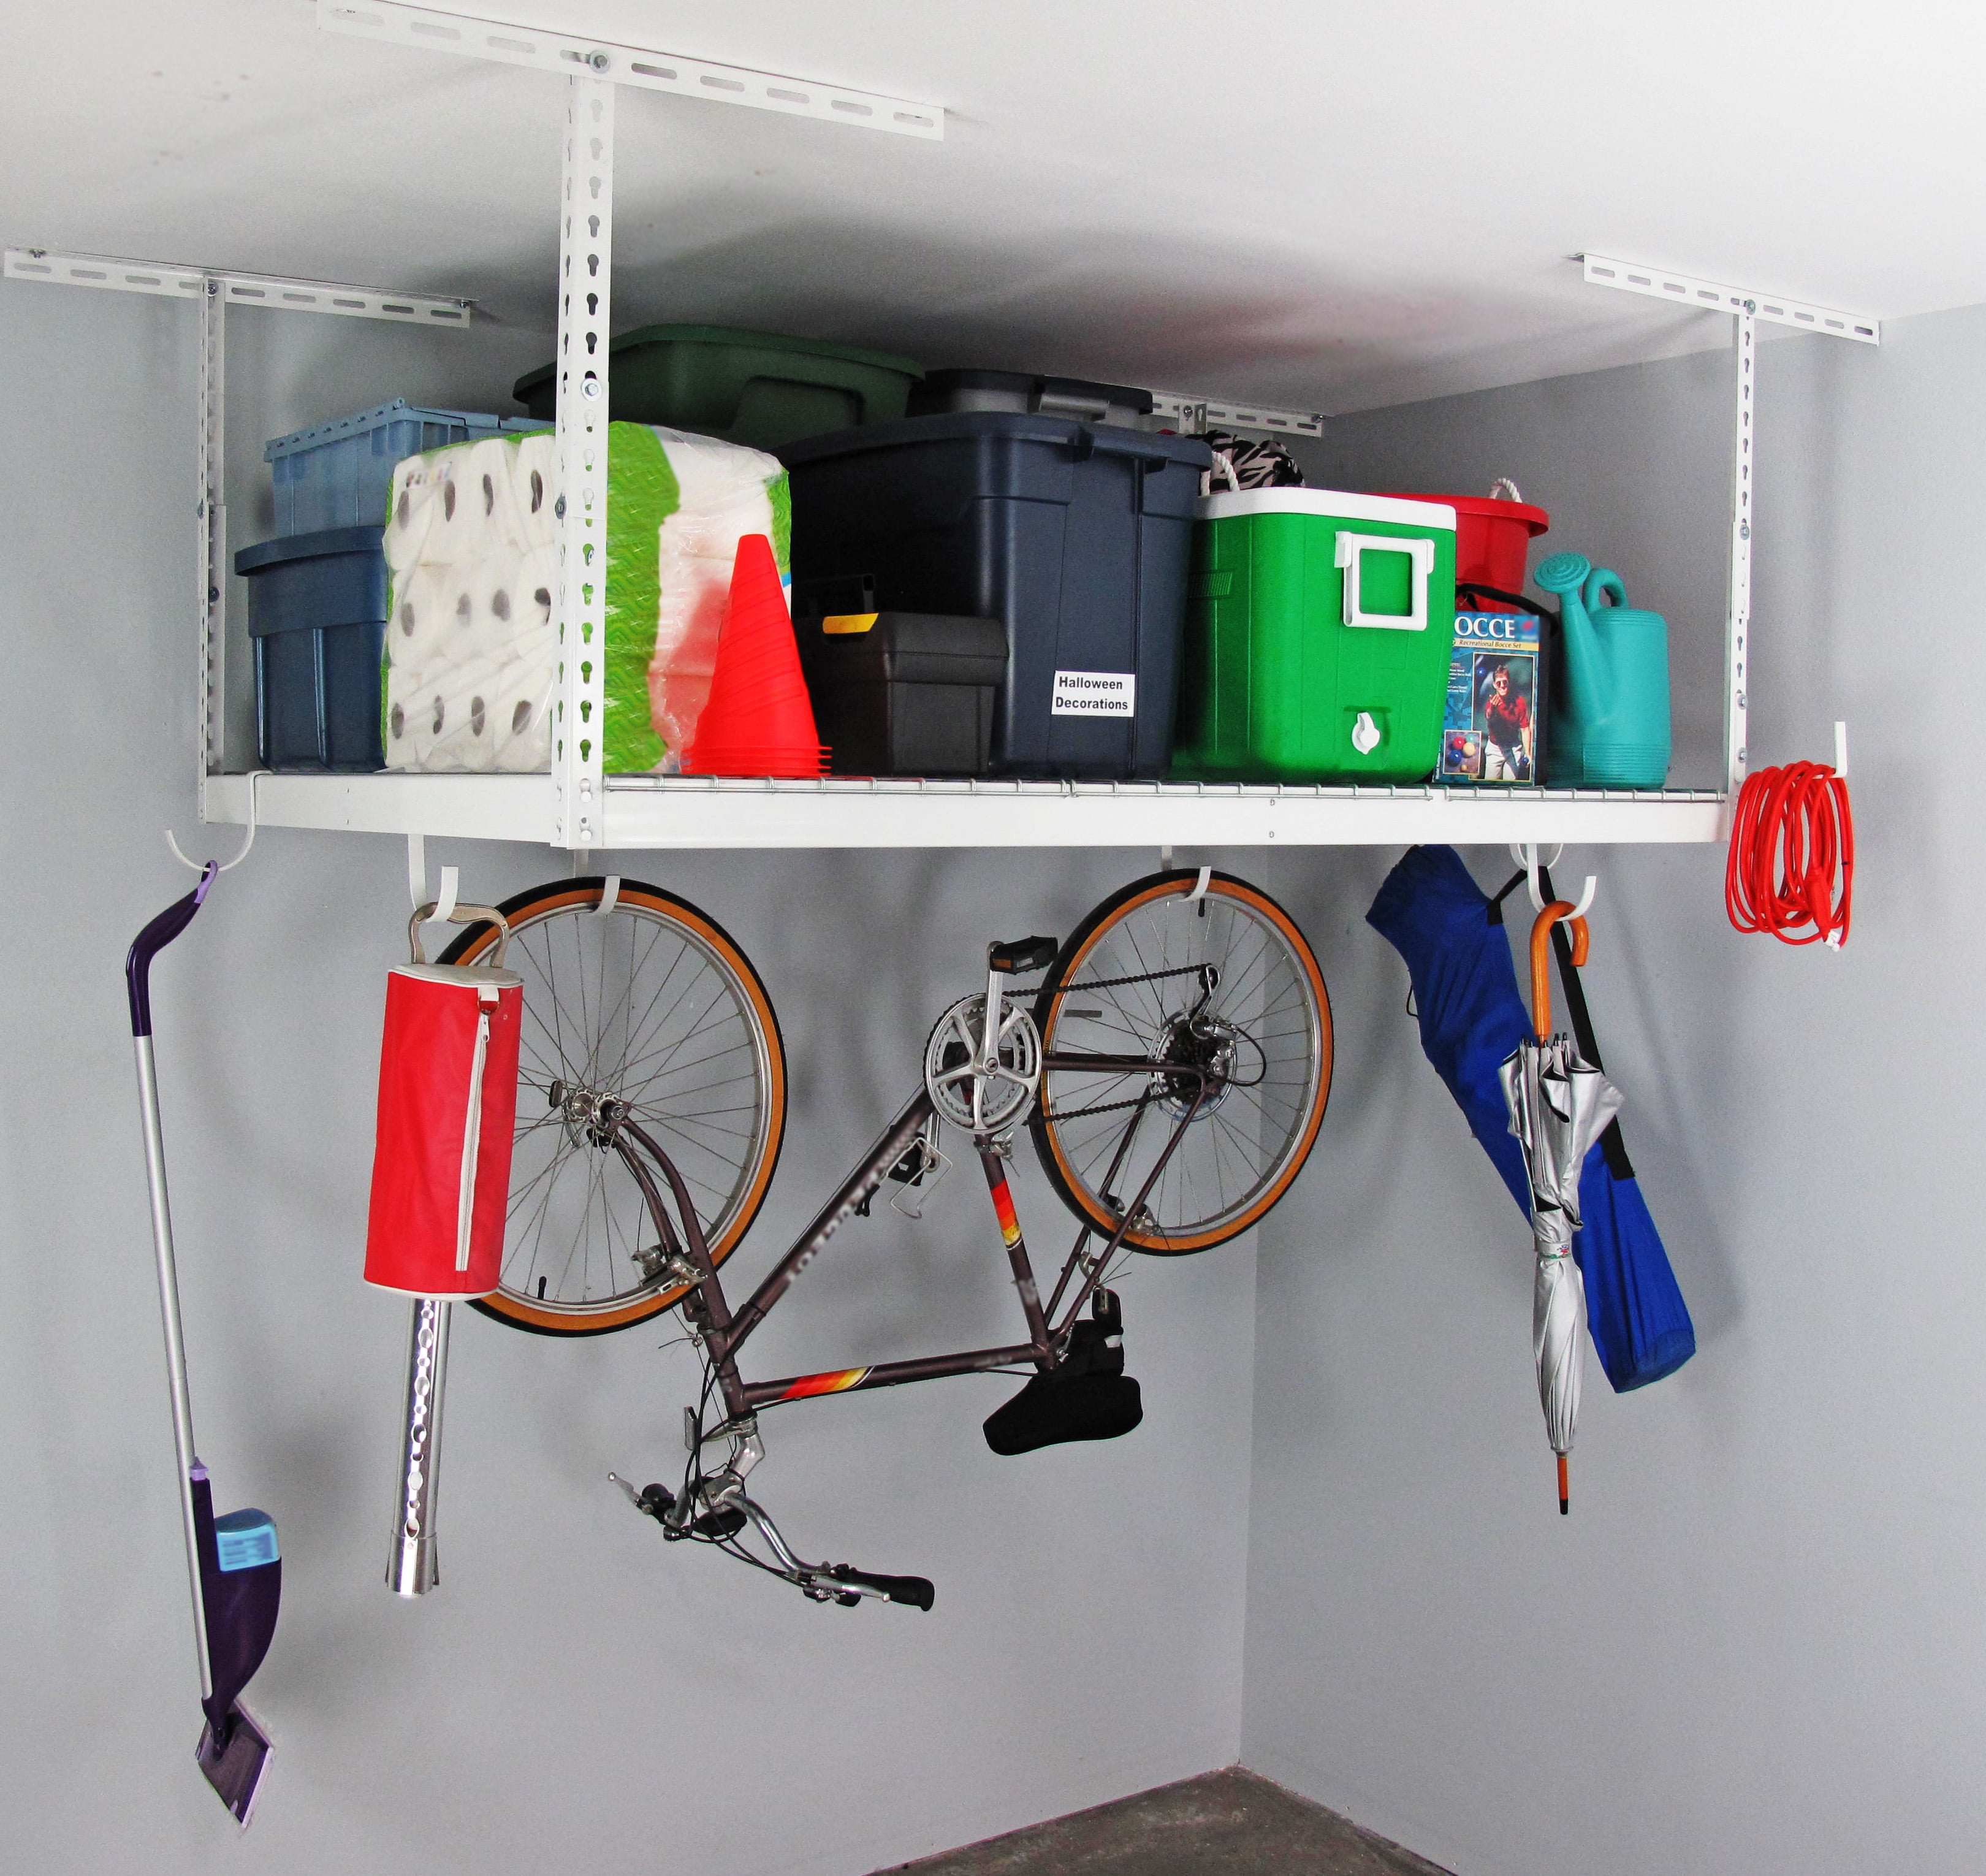
Garage ceilings often sit empty while floor space shrinks under clutter. An overhead storage rack reclaims that vertical territory without blocking your car or workflow. Before installing one, you need to verify your space, understand the weight limits, and know how to keep the system secure over time.
Contents
Industrial Steel Storage Above: A 500-Pound Ceiling Solution
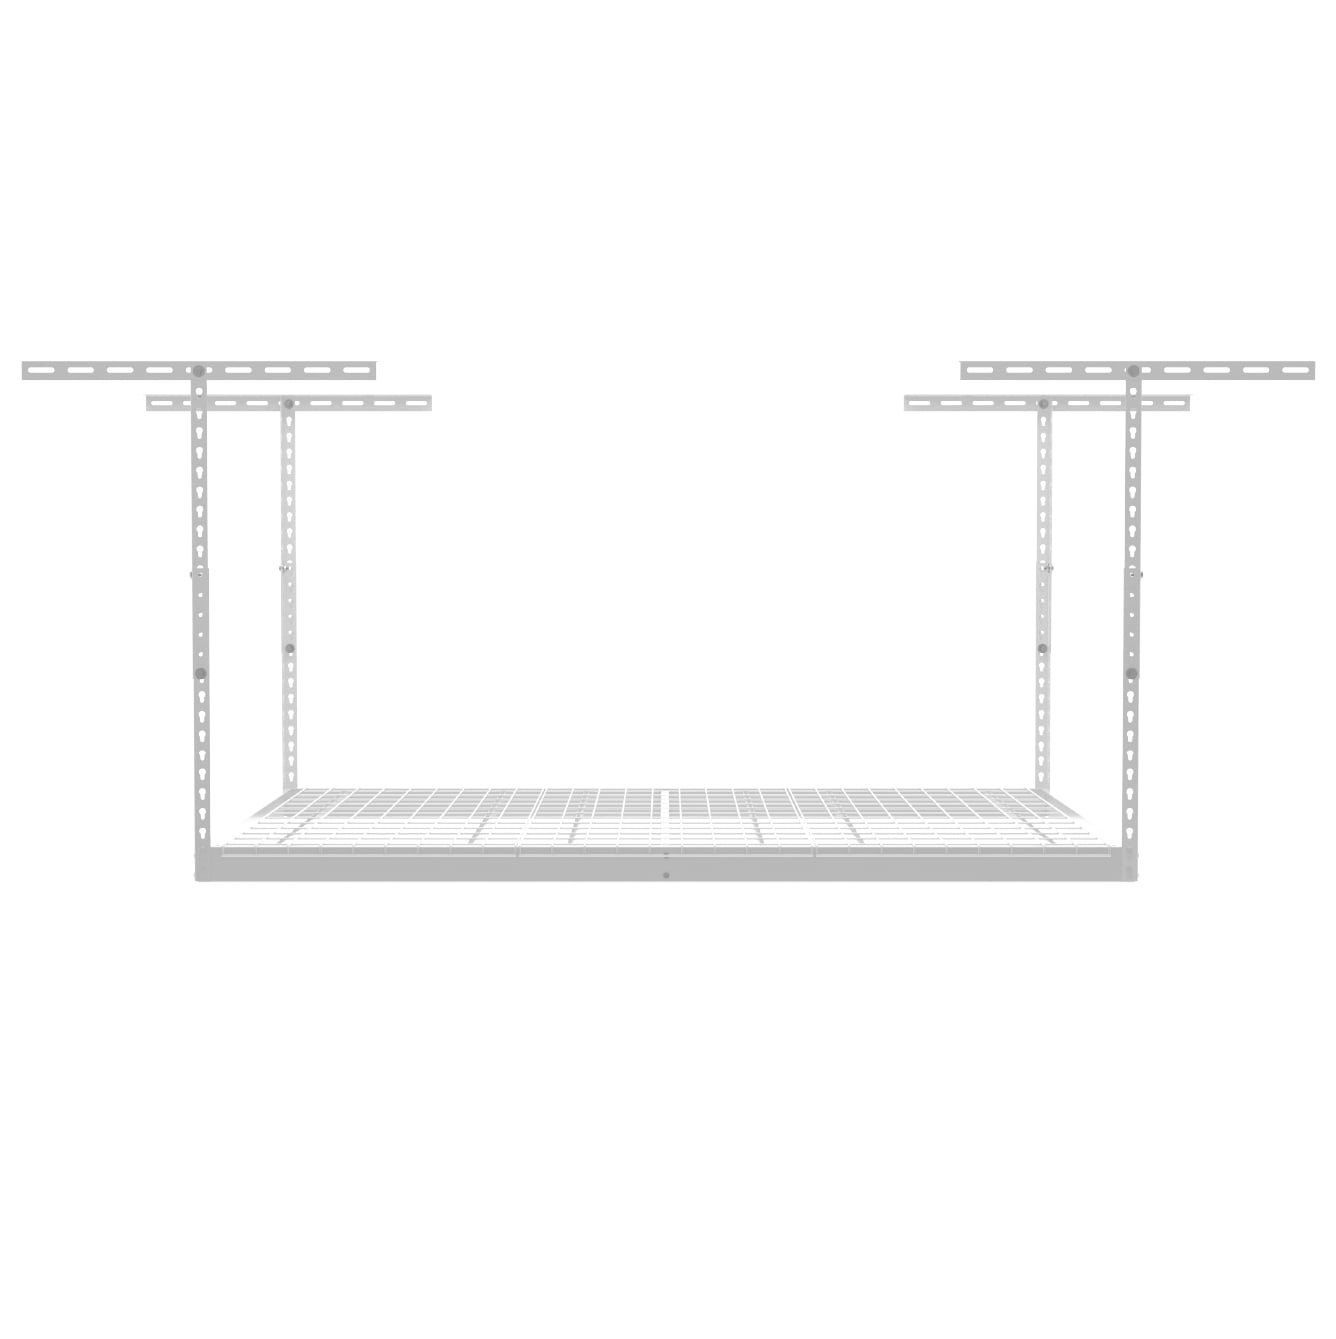 An overhead garage storage rack transforms wasted ceiling space into a dedicated storage zone for seasonal gear, tools, and household items you don't use daily. The MonsterRax 4x6 model combines industrial-grade steel with a powder coat finish, engineered to resist garage temperature fluctuations, humidity, and corrosion over time—a construction method that prevents rust, peeling, and discoloration that plague unfinished metal racks in damp garage environments. The frame holds up to 500 pounds of distributed load, sufficient for plastic storage totes, heavy boxes of holiday decorations, camping equipment, sporting goods, and workshop supplies. Measuring 4 feet wide and 6 feet long, the rack footprint fits inside most residential garage spaces without interfering with vehicle parking zones. The structure delivers approximately 90 cubic feet of usable storage volume—equivalent to roughly fifteen standard plastic storage bins—while consuming zero floor space. Adjustable shelving at different heights allows you to organize items by size and weight, maximizing the overhead area and accommodating various container shapes. The industrial-grade fastening system distributes loading stress across ceiling joist connections, a design choice that prevents single-point failures. Unlike freestanding shelves that occupy floor real estate, an overhead installation keeps walkways, work surfaces, and parking areas completely clear. Assembly is required and typically takes two to three hours when you carefully organize all components and secure every mounting hardware connection.
Ceiling Mounting, Garage Layout, and Daily Workflow Impact
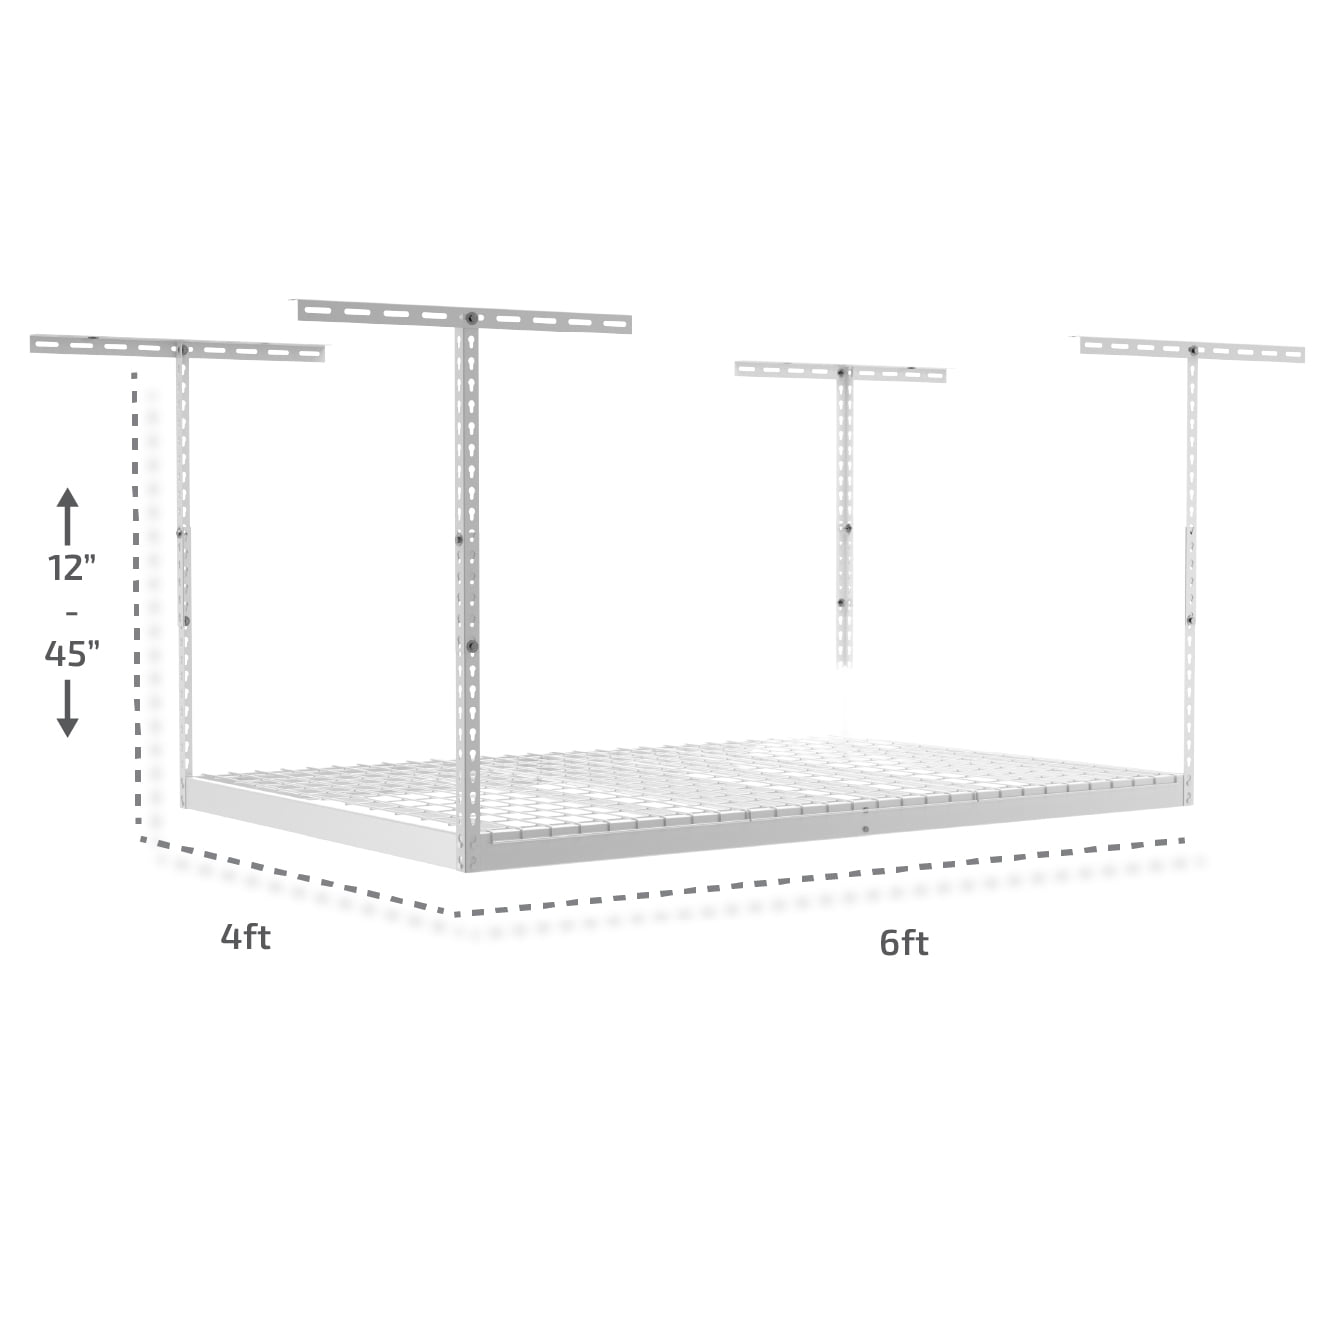 Overhead racks mount directly to ceiling joists, so your first step is locating those structural members using a stud finder designed specifically for ceiling work and deep scanning. Most residential garages have ceiling joists spaced 16 or 24 inches apart, and the MonsterRax fastening system requires secure connections at multiple points to safely distribute the 500-pound load across the structure. Position the rack where it won't interfere with garage door tracks, roof trusses, electrical wiring, plumbing lines, or HVAC ducts running through the ceiling cavity—these utilities are often hidden but critical. Many homeowners install the rack toward the rear wall or along one side, keeping the center area clear for vehicle parking and equipment access or workspace. The adjustable height—12 to 45 inches from the ceiling—lets you lower the rack to just above your car's roof, maximizing accessible storage while preserving headroom for loading items. Think about workflow: keep frequently used seasonal items (holiday lights, camping gear, sports equipment) at heights you can comfortably reach without a ladder, and reserve higher positions for rarely accessed boxes. The industrial fastening system means the rack won't sag or shift once installed, but you'll need to plan for access when retrieving or placing heavy items on upper shelves. Ensure you have a sturdy step ladder, A-frame ladder, or scaffold nearby for safe loading and unloading of heavier storage containers. Some homeowners add pegboards or wall-mounted bins below the rack for small tools and hardware, creating a complete overhead storage and organization zone.
We may earn a commission from purchases made through this link. Price and availability are not tracked on this site.
Maintenance, Assembly Preparation, and Long-Term Security
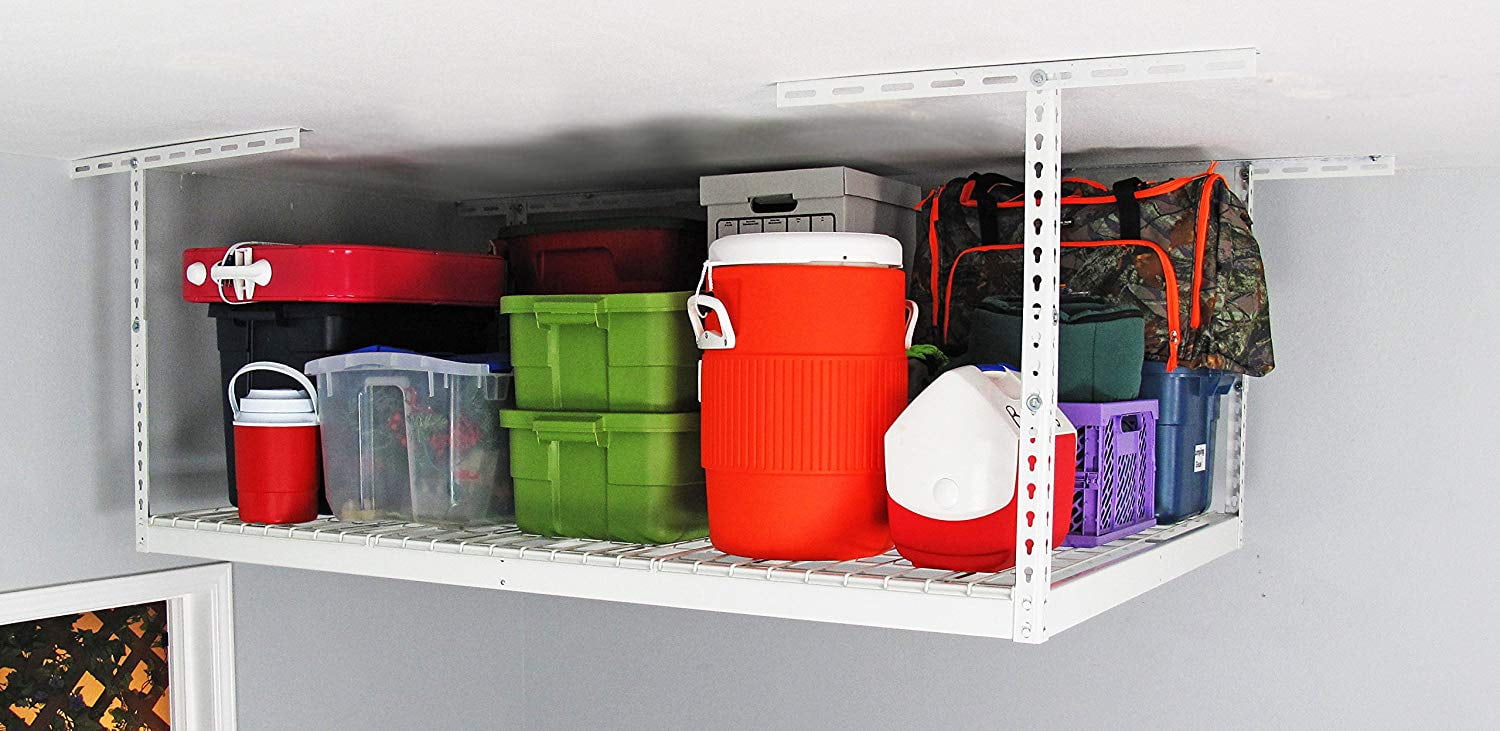 The powder coat finish protects the steel frame against rust and corrosion, but occasional inspection and light cleaning will extend its life considerably. Dust the rack every few months using a soft brush or dry cloth, paying particular attention to corners and crevices where moisture or debris might accumulate over seasons. If you notice any white or orange discoloration (early signs of corrosion or oxidation), wipe those spots promptly with a damp cloth and let them air dry completely; the powder coat typically resists these issues, but early attention prevents spread. Assembly requires careful attention to fastening hardware: ensure every bolt is tight, every bracket is securely seated, and no connection shows play or wobbling when you apply upward pressure by hand. Once installed, periodically check the tightness of mounting bolts every few months, especially after your first few months of use or after loading particularly heavy items or changing what's stored. The limited lifetime warranty covers defects in materials and workmanship, but it doesn't cover misuse, overloading, improper installation, or failure to follow the manufacturer's installation instructions. Before storing anything, double-check that all fasteners are snug and the entire rack feels completely stable—a shifting or creaking rack signals an installation problem that needs addressing before you add weight. Store the assembly instructions and warranty documentation in a safe place with your other important home records; you may need them if you move or if you need to reference load recommendations. Keep receipts and photographs of your installation for warranty documentation purposes, especially if you ever need to file a claim for defects.
Before you purchase, verify your garage ceiling joists are sound and properly spaced to handle the 500-pound load, check that your expected load weight stays well under 500 pounds per shelf level, and ensure your vehicle height works with the 12 to 45 inch adjustable mounting range. Measure your ceiling, confirm the 4-foot by 6-foot footprint fits your garage layout without blocking access to electrical panels, water lines, or other utilities, and plan your installation location before assembly begins.